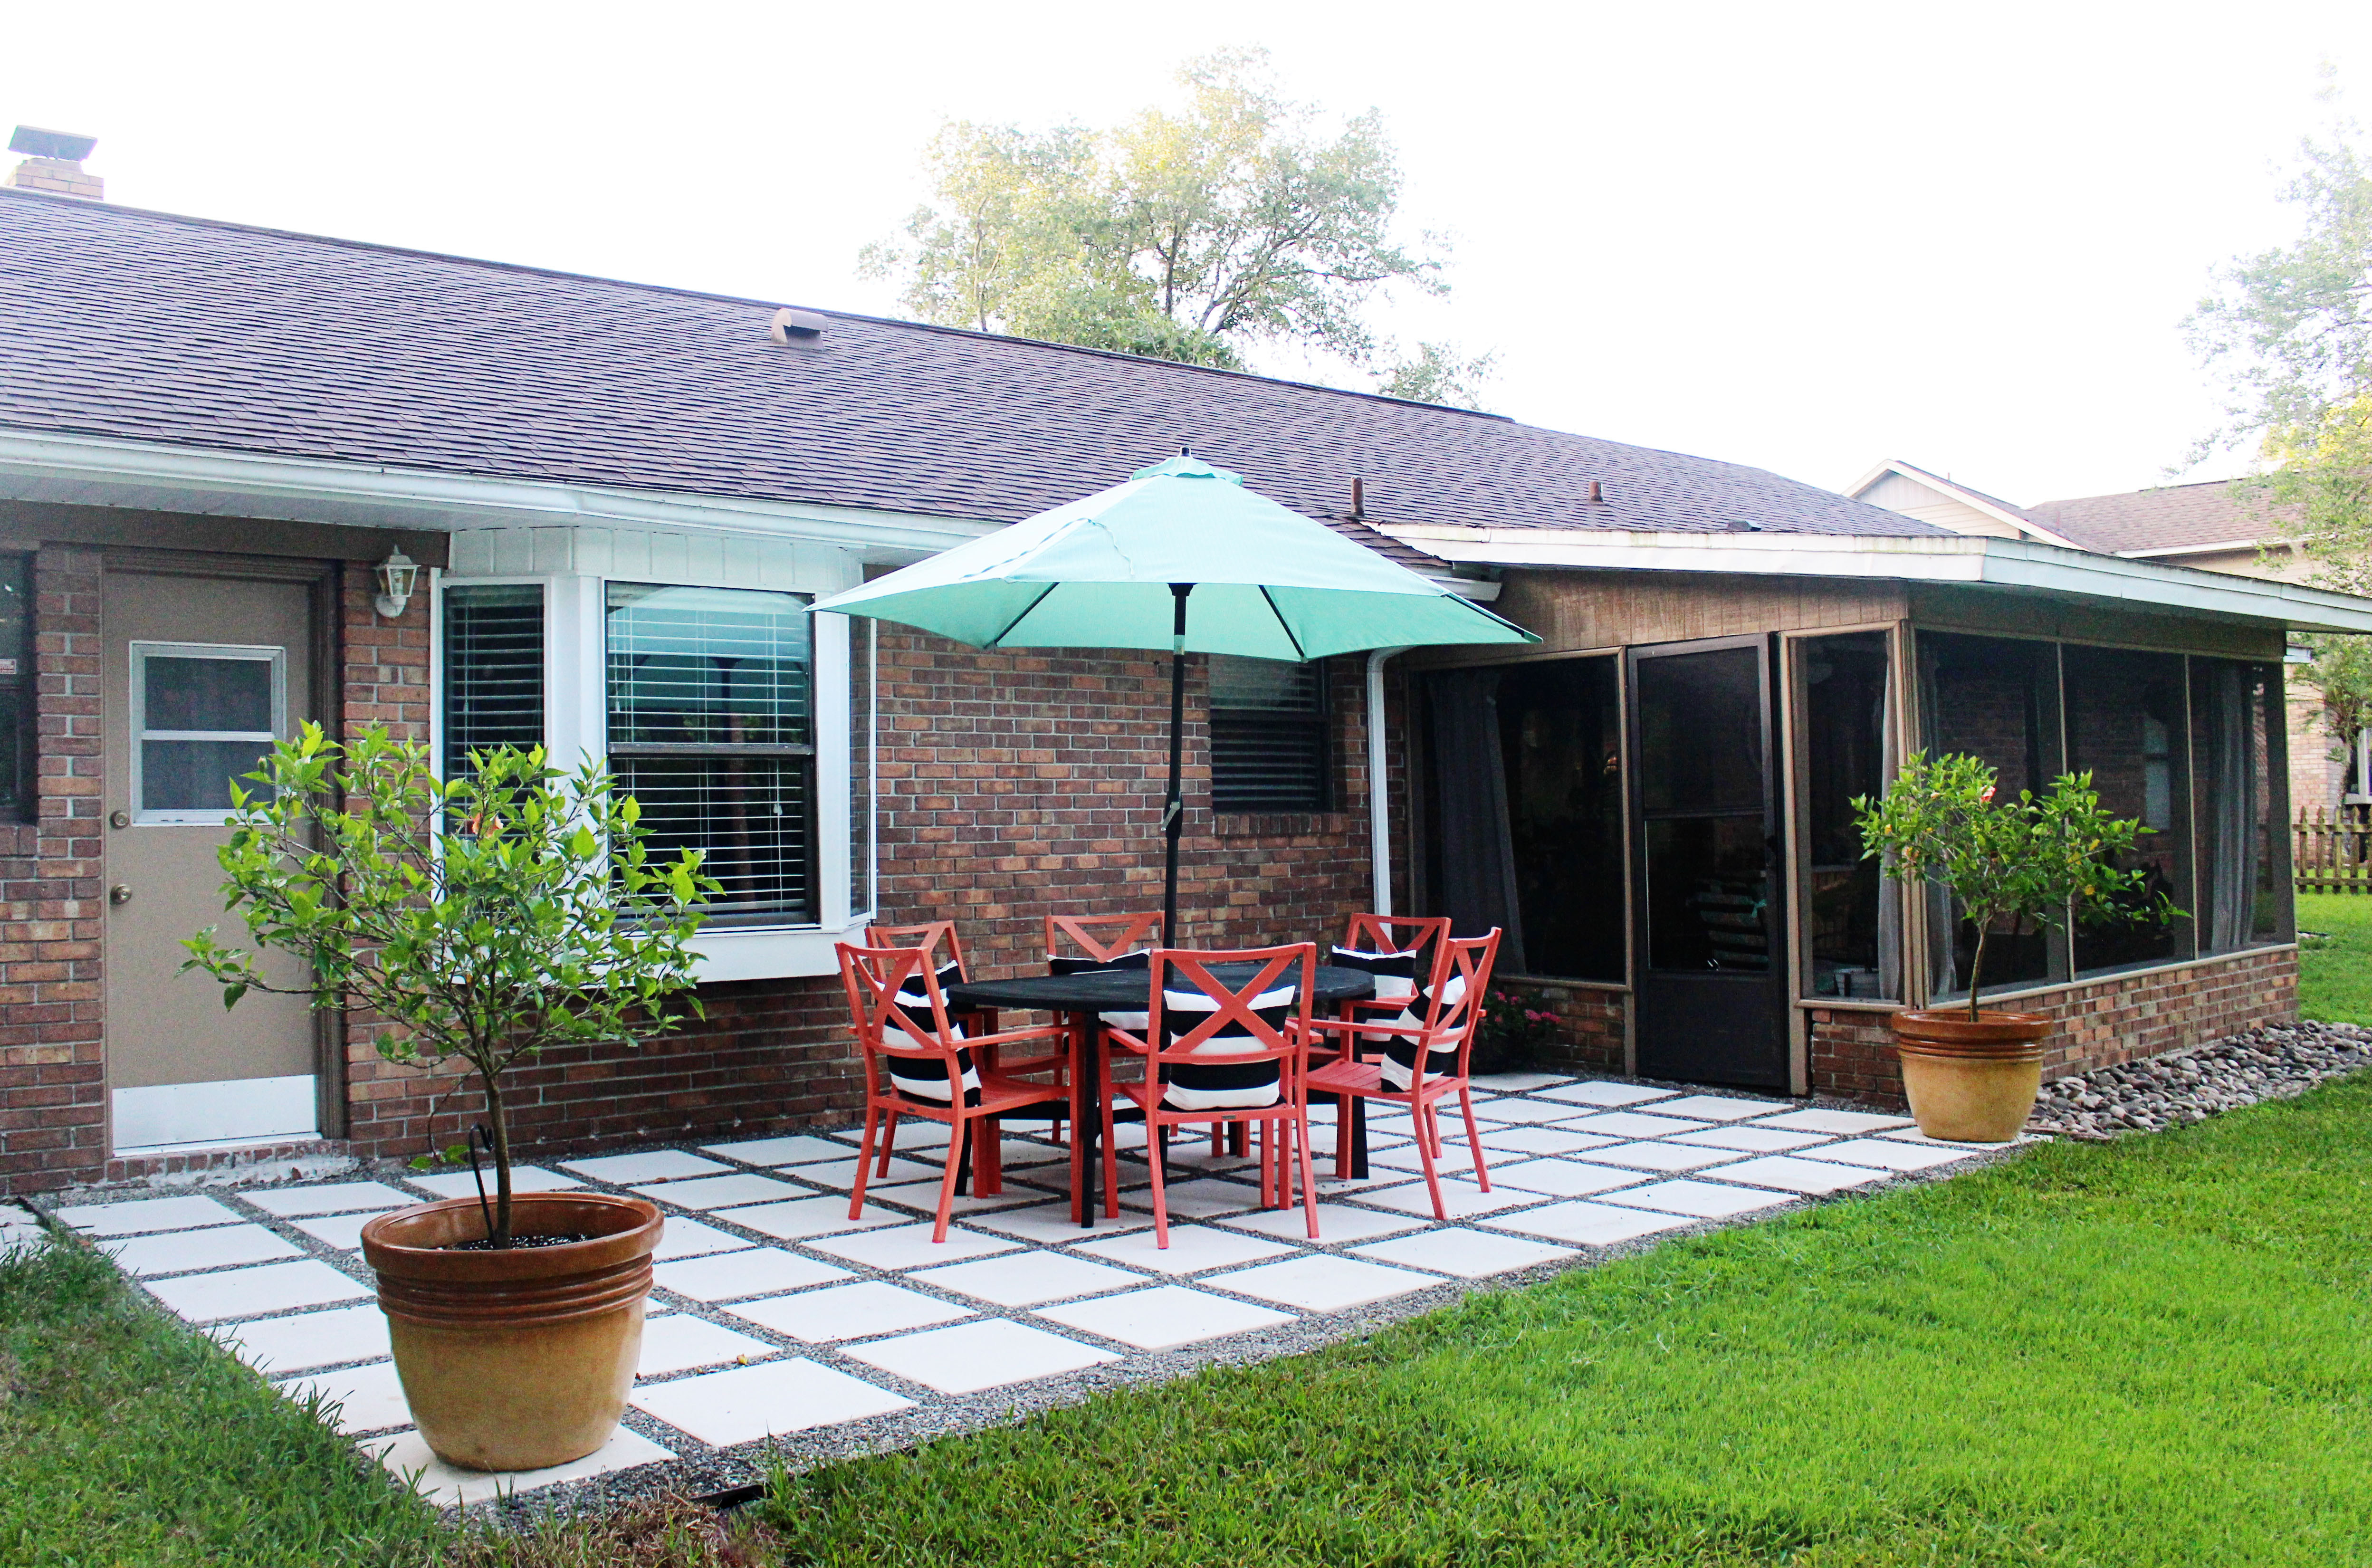
Home Project // Backyard Patio Makeover


When we moved into our home a little over two years ago, we knew that the patio space directly off of our house would be a slow work in progress. Fast forward to this past June when we decided to finally flip the space and make it a patio for us to enjoy. Did I mention I was 28 weeks pregnant when we started and it took about 4 weekends {and a couple week days} to complete this project? And oh yeah, we picked the middle of the summer to complete this massive project.
But let me tell you, it was worth every second in the Florida heat! We’re in love with our new outdoor space {in addition to our other outdoor patio space and our screened in patio flip from last summer}. We can’t wait to share how the process of creating our new space. Here’s a glance at the before and after:

About a year ago I removed about 3 feet in width of bricks along the length of the patio. That’s when we realized the daunting task this was going to be. We gave those bricks away, call us crazy, and pushed the patio makeover on the back burner. That was until our boho inspired baby shower was planned to be hosted at our home. We knew we had to once again start and finally finish the patio. Thank goodness we started with a month to get it done.
Our patio was pretty horrible. Weeds growing left and right, bricks shifting {probably from last year when we removed part of the patio}, random paint stains, and overall just ugly. But hey, it makes for a great before:


We recruited a few family members and we got started right away removing the bricks. Sounds easy until you realize you have 800 bricks to carry off to the side of the house and stack. But we did it!


Along the way though, we certainly found some interesting finds:

The most intriguing of them all? A sidewalk. Let me say that again, a stubborn, unappealing, make us stomp our feet sidewalk found hidden underneath the bricks and dirt. We called it a day after we found the sidewalk. We felt defeated knowing we had to remove it {which put us about a week behind}.
Ryan was a trooper! He hammered away, lifted, and hauled off 2000 pounds of concrete. Rewind back to me being 28 weeks pregnant and not being able to lift that amount of weight.

We were good to go from there {fingers crossed}. We measured the new dimensions for our patio space, edged it out, and leveled out the dirt. Good news about the sidewalk? Because we had to remove it, we didn’t have to remove any dirt to make enough room for the new pavers.

Weekend number two was underway. We had Pebble Junction {best place ever} deliver coquina in order to provide a rock base and drainage for the new patio area. It’s important for any patio space, especially in Florida. I have to admit that I got a good chuckle when I saw the size of the truck versus how much coquina we ordered.


Help arrived and we got started spreading the coquina throughout the patio space. A little leveling and another part of the patio process was done. At this point, the patio was already better than the before picture. I do believe we paid in fudge brownies this particular day.


As weekend number three arrived, we drove to Pebble Junction to purchase leveling sand and pick out the rock to place between the pavers. This place is like an outdoor playground for the yard and patio enthusiast.

By placing leveling sand over the coquina, it allowed us to make sure the entire patio space was level and to easily adjust pavers as Ryan placed them down. Why just Ryan? The pavers that we found at Home Depot {best price for the size} weighed 54 pounds each. There was no way I could help lift the pavers. So needless to say, Ryan lifted and placed 66 large pavers. We adjusted as we went along using the leveling sand if a paver was unbalanced or moved. We also used a 3 inch piece of lumber to make sure there was a 3 inch perimeter around each paver. It was a lengthy process but it was worth every minute of taking our time.

Finally, the last weekend we would have to work on our new patio arrived. We made the last trip to Pebble Junction to purchase small river jack rocks. With the help of amazing family and our new neighbors, we were able to pour the river jack rocks between all the pavers and install edging along the side of the patio. We collapsed in the grass as we all gazed at the new patio after weeks of working on it.

Was it easy? Goodness no. Was it worth every single hot summer day spent on it? Absolutely! I’ll let the images of our finished patio do all the talking! You’ll also find where I found and/or made each item on the new patio space at the end of the post.


20″ x 20″ pavers: Home Depot || River Jack Pebbles: Pebble Junction || Patio Table: Found curbside || Coral Chairs: Target {on clearance too!} || Seafoam Umbrella: Target Clearance || Black and White Pillows: Made with fabric from Jo-Ann ||
Let’s keep in touch!
We have a brand new community over on Facebook, House & Home, where we’ll be chatting, sharing, and helping one another when it comes to home decor and projects. Come join us! Check it out here.
Like on Facebook || Follow on Instagram || Follow on Pinterest
[…] outdoor inspiration with patios? Check out a few of our past projects.Adding Lighting to Our PatioInstalling a PatioQuick and Simple Outdoor […]
Ryan is a beast!