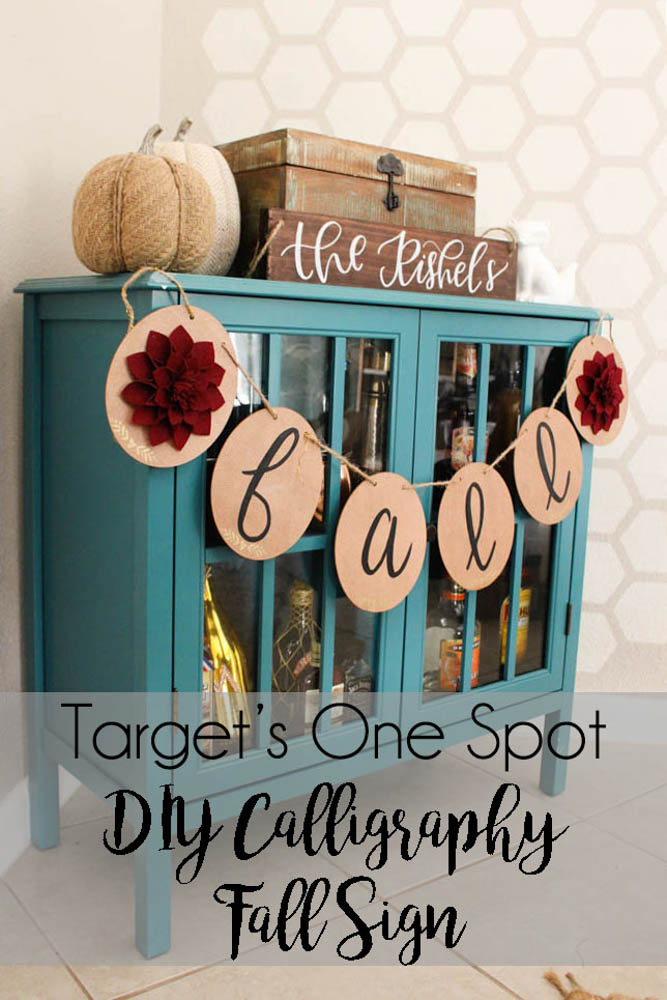
I realized the other day {okay, maybe a long time ago} that I have a slight addiction to Target’s One Spot. From the empty shelves I often see in the One Spot, I know I’m not the only one! I’m pretty sure there are Facebook groups and Instagram profiles created just for this part of Target to see what others have snagged. That leads me to a new feature of Within the Grove. Woo hoo! I’ll be heading to Target’s One Spot {oh, darn} to find some of the fun products to turn into a DIY project for your home. They will be quick, easy, and oh yeah, affordable!
So for today’s first ever One Spot DIY {cue the happy dance}, I’ll be showing you how to create a calligraphy fall sign just in time for Thanksgiving. This is a perfect last minute DIY project to add a little Thanksgiving decor to your home before your guests arrive. Give me 30 minutes and you’ll have a new, trendy calligraphy sign!

Supplies:
Wood Banner from the One Spot || Adhesive Felt Flowers from the One Spot || Paintbrush || Black Paint || Pencil

The How-To:
Step 1: Using your pencil, write out the word fall using 4 of the wooden ovals. Refer to my writing or find a calligraphy style you love to write your letters. Remember, it’s only pencil. It will erase!

Step 2: Once your letters are written, it’s time to paint! Using your paintbrush and black paint, trace over each letter with paint. This is your rough draft stage. You’ll notice that mine isn’t perfect!

Step 3: Clean up the lines of your letter using your paint and paintbrush. Then the important step – make each down stroke in the letters thicker than the upstrokes. This will create the look of calligraphy.
Tip: To make this process a little easier, you can also use a black paint pen!

Step 4: While your letters are drying, remove the backing off of the felt flowers and attach to the last two wooden ovals.

Step 5: Once everything is dry, thread the wooden ovals onto the string that was provided.

That’s it! You now have your new fall banner just in time for Thanksgiving. Where will you hang yours this holiday season? I’ve placed mine in my dining room where we will all be gathering but contemplated the fire place mantle and my large chalkboard in the kitchen.

So there you have it. My first One Spot DIY {as if we need another excuse to go to Target}. I can’t wait to bring you more of these DIY projects for your home that will fit anyone’s budget!
Let’s keep in touch!
We have a brand new community over on Facebook, House & Home, where we’ll be chatting, sharing, and helping one another when it comes to home decor and projects. Come join us! Check it out here.
Like on Facebook || Follow on Instagram || Follow on Pinterest

I’m so addicted to the Target dollar section too!! I’ve never thought to spice the items up though, love this tutorial!
Xx Taylor
http://lightscameracatwalk.com
Thank you so much Taylor!