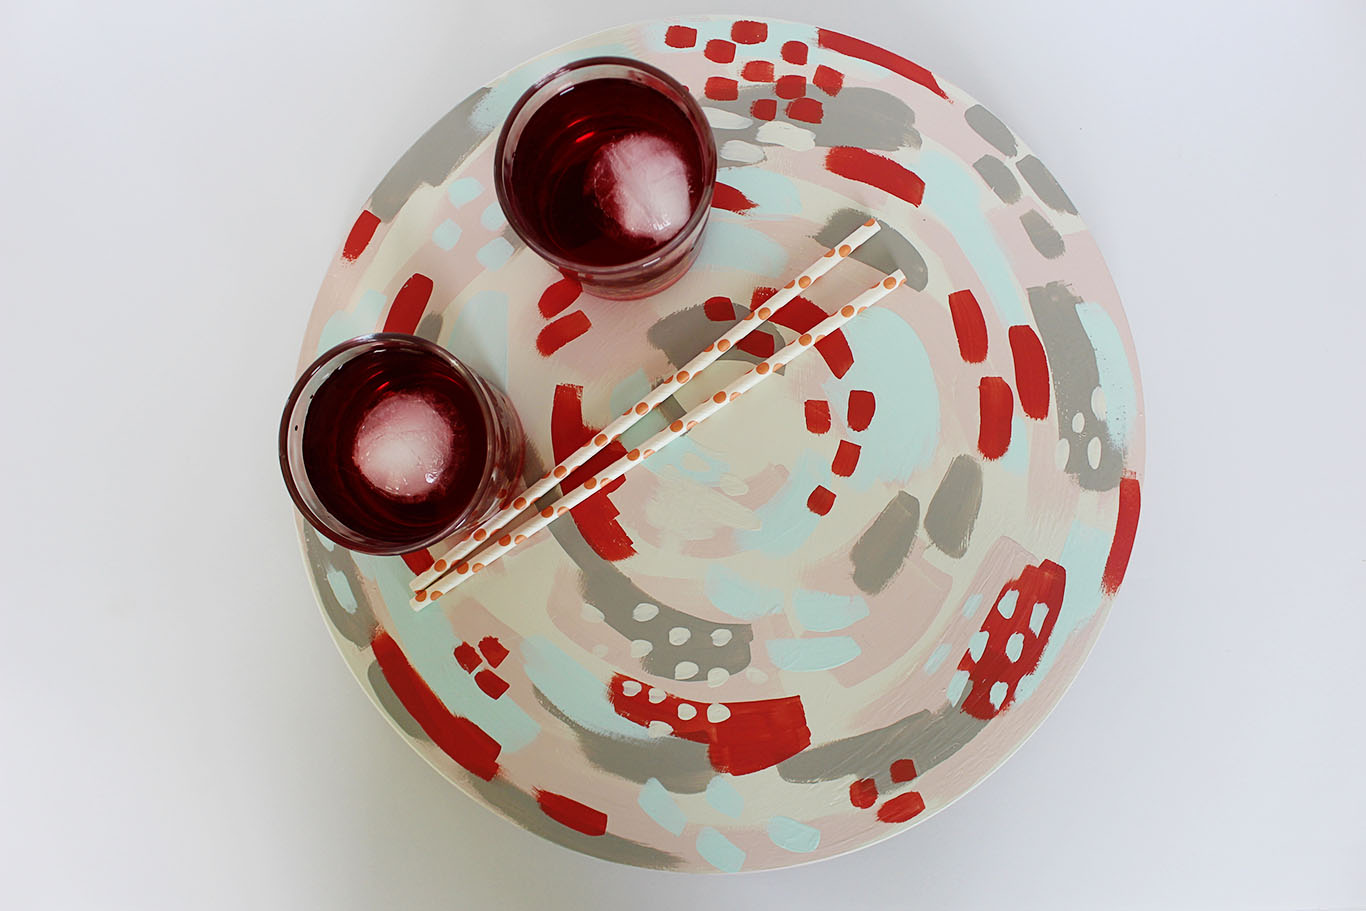
Our weekend was pretty successful with knocking out a few major projects on our home to-do list. I seriously can’t wait to reveal the nursery and our new patio to you soon! Meanwhile, here’s a beginning of the week pick me up to help get your creative vibes flowing for this upcoming weekend. I’ll admit that I love getting out in my community, passing time with laughter and friends, and enjoying the outdoors. There are just some weekends though where I want to stay in, put on Gilmore Girls {my current obsession}, and craft the weekend away. This painted abstract lazy susan is the perfect DIY project to do just that!
I bought this lazy susan a few months ago at Ikea for around $10 knowing I would eventually paint it. Inspiration finally hit me this past week after taking part in a Summer Floral Party Shoot with all the beautiful, vibrant colors that surrounded me. I knew once it was painted it would be the perfect addition for brunches, parties, and sweet get togethers. Not much of a painter? This DIY painted abstract lazy susan is perfect for you then! The beauty of this project is that you don’t have to be perfect and my step-by-step process will guide you easily through the process. Use my pattern as an inspiration or find a pattern/color scheme that works best for you!

Supplies:
Lazy Susan or Tray || Paint Brush || Acrylics || Hairdryer || Polycrylic || Palette if needed

Tip: I used sample paints purchased from my local home improvement store for my project. Acrylic paints work just as well! I used the following colors:
Dove White || Candlestick Silver || Matador’s Cape || Marina Isle || Ole Pink

The How-to:
Step 1: Using the white paint and paint brush, paint the top and edges of the lazy susan white. You’ll need to apply 2-3 coats. Tip: Use a hair dryer for a few minutes between each coat of paint throughout the project for a faster drying time.

Step 2: Layer your paint colors in your desired pattern. Use my process pictured and numbered below to help guide you in adding and layering your paint colors. Make sure your paint is dry and to rinse out your paint brush when changing and layering each paint color. I also made my abstract lines curve with the shape of the lazy susan and added thin lines, thick lines, and random dots throughout the design.

Step 3: Go back and add any other desried layers or accents (i.e. dots and curved lines) to any spots on your lazy susan.

Step 4: Once all the paint is dry, apply 1 coat of polycrylic to the top and along the edge of the lazy susan. This will seal and protect the paint. Do not place this in the dishwasher! It’s safe to wash by hand with mild soap.
I loved the painting process of creating this custom lazy susan. It’s a design you can paint easily with big results. I can’t wait to put it to use in my home! It will be the perfect addition for my next cookout or to place my endless supply of fingernail polish on. The options are endless. What will inspire you to create your own?

Let’s keep in touch!
We have a brand new community over on Facebook, House & Home, where we’ll be chatting, sharing, and helping one another when it comes to home decor and projects. Come join us! Check it out here.
Like on Facebook || Follow on Instagram || Follow on Pinterest
