


This DIY succulent centerpiece post is sponsored by Outdoor Supply Hardware. Although I received compensation to share my experience, all thoughts are my own.
Whether you’re looking for an easy DIY centerpiece for a wedding, a dinner party or even just your outdoor dining table, making a succulent garden centerpiece is a simple and beautiful solution. Keep reading for step by step instructions to make your own DIY succulent centerpieces.
I got everything I used for this project at Outdoor Supply Hardware, one of my favorite home improvement stores.
If you’ve been following along with me over on Instagram, you know that I visit OSH as often as I can. With their oasis of a nursery, home improvement items, home decor, and paint, I feel right at home with my DIY loving self.

During my last visit, I wanted to grab a few garden and home improvement items to create the ultimate home decor piece to share with you. This is the perfect weekend project that will continue to give back to your home time and time again.
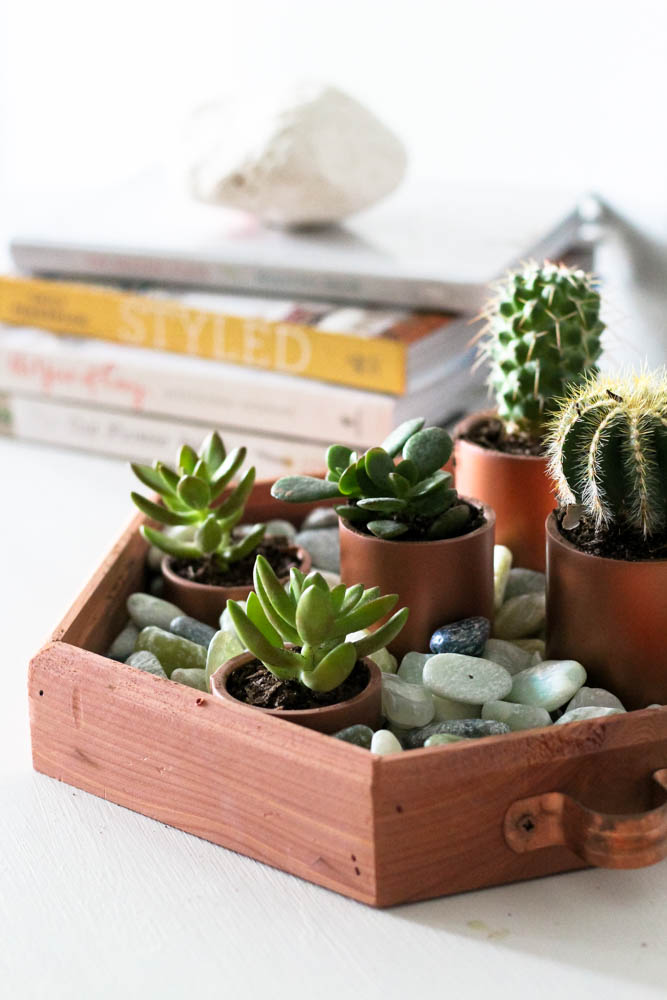
Say hello to this gorgeous DIY succulent centerpiece! It’s the perfect piece to add color and texture within your home decor. And because it’s basically a tabletop succulent garden instead of a cut succulent arrangement, you can keep this looking beautiful for weeks, months and even years to come!

Materials for DIY Succulent Centerpieces
One of my favorite things about this DIY centerpiece project is that the materials are easy to find and inexpensive.
The gorgeous wooden container that houses the succulent garden? It’s actually a simple bird feeder! And the mini pots? They’re not really pots – they’re PVC fittings painted to look like terracotta!
Seriously, we’re getting creative and budget-friendly with this DIY succulent garden. Ready to make your own? Here’s everything you need to create your own succulent garden centerpiece.
Supplies:
- Tray-Style Bird Feeder
- Assortment of Succulents and Cacti
- Pebbles
- Copper Metallic Spray Paint
- Drill
- PVC Coupling Fittings in Various Sizes
- 2 Copper Tube Straps
- 4 Small Screws

How to Make a Succulent Centerpiece
The secret to this beautiful succulent arrangement is simple: let the succulents shine! The rest of the centerpiece is kept simple and colors are neutral, so the natural beauty of the plants can really stand out.
Step 1: Spray Paint PVC Fittings
Place your PVC fittings on a box outside and apply the copper spray paint. Allow them to fully dry and apply a 2nd coat. You’ll also want to spray paint your screws so that they blend in with the copper handles. Stick them in the ground to spray paint the top.

Step 2: Attach Tube Straps
Once everything has dried, attach the copper tube straps to sides of the bird feeder using the drill and screws. These will act as handles for your centerpiece tray, making it easy to transport from table to table.

Step 3: Arrange Succulent “Pots”
Place the painted PVC fittings in the bird feeder. I started with the tall ones in the back and ended with the shorter ones in the front. Play around with where you’d like them before adding the succulents.

Step 4: Plant the Succulents
Plant the succulents and cacti in the PVC fittings. Make sure to fill the bottom of each mini succulent pot with dirt. I was able to use dirt from the bigger pots to help with this so I didn’t need to purchase any extra soil.

Step 5: Add Pebbles
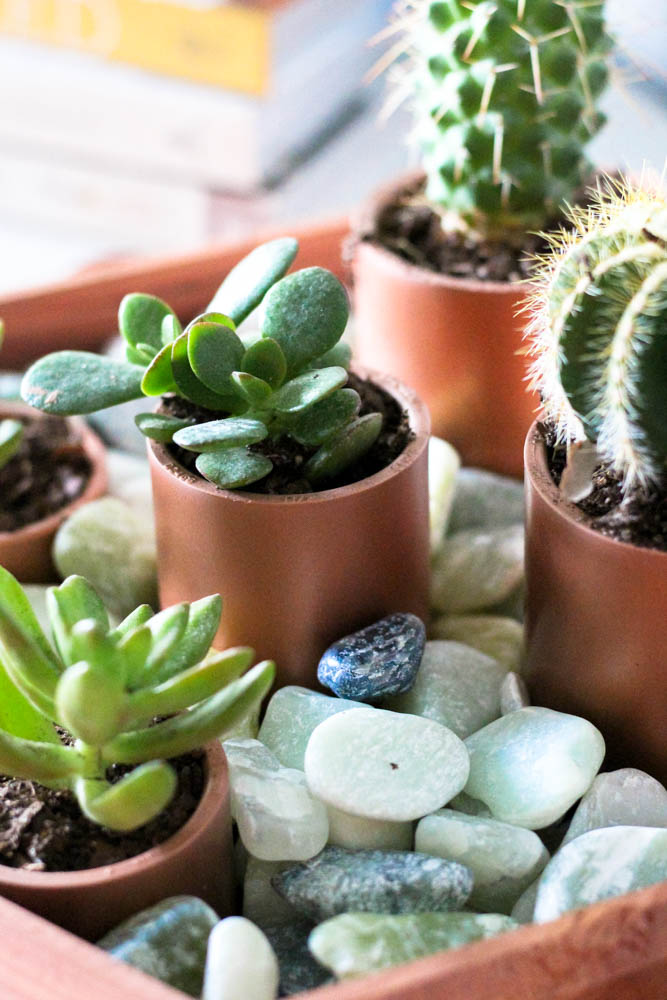
Fill the bottom of the bird feeder and around the PVC fittings with the pebbles for a finished look. And that’s it! You’re done (seriously!).

The hardest part of this DIY project is either waiting for the spray paint to dry or attaching the handles. It’s a quick and easy project with gorgeous results. All of the supplies came from Outdoor Supply Hardware which makes it even easier when you can gather your supplies in one place. Get your best gal friends together this weekend to make this DIY succulent centerpiece.

Caring for Your DIY Succulent Centerpiece
I’m a big fan of all types of succulent arrangements. A succulent bouquet could be a beautiful addition to any table, as could a simple potted succulent. But one of my favorite things about this succulent centerpiece is that it is alive and easy to keep living for a long time to come!
Do you need to water a succulent centerpiece?
Yes, you do need to water your centerpiece if you want it to last. But succulents need very minimal water. I recommend watering them about once a week in the hotter months of the year. In the colder winter months, you can even go down to once every month or so because they go dormant that time of year.
How long can a succulent last without water?
If for some reason you can’t easily water your centerpiece (for example, if you’re using these for an event and need to make them in advance and ship or store them), these centerpieces can still thrive for more than a week! The succulents should stay looking as good as new for at least 7-10 days (if not longer!).
How do you group succulents together?
There’s really no right or wrong way to arrange succulents within your centerpiece. I like to get a variety of succulents with different shapes and colors to create a wild, natural look. Consider the size and height of your succulents as you’re arranging them on the tray.
If you want a more even look, use shorter succulents in the taller PVC fittings and taller ones in the shorter pipes. If you’d rather have varying heights, make sure to arrange them accordingly. Spread colors out around the tray, too, so you have pops of color throughout.
Can you make a faux succulent centerpiece?
You could absolutely make this DIY succulent centerpiece design with faux succulents. If you decide to use faux succulents, I’d recommend filling the PVC pipe fittings with some faux moss or even other, smaller pebbles. Then you don’t have to worry about using messy dirt at all.
Making Your Own Succulent Centerpiece
If you use this tutorial to make your own DIY succulent arrangement, then let me know! Follow me on Instagram and be sure to tag me in your photos!
Let’s keep in touch!
We have a brand new community over on Facebook, House & Home, where we’ll be chatting, sharing, and helping one another when it comes to home decor and projects. Come join us! Check it out here.
Like on Facebook || Follow on Instagram || Follow on Pinterest

Beautiful centerpiece, I wanna make one only with cacti for my living room. My favorites!
Thank you Diego! That would look amazing. I would love to see a picture if you make one.