


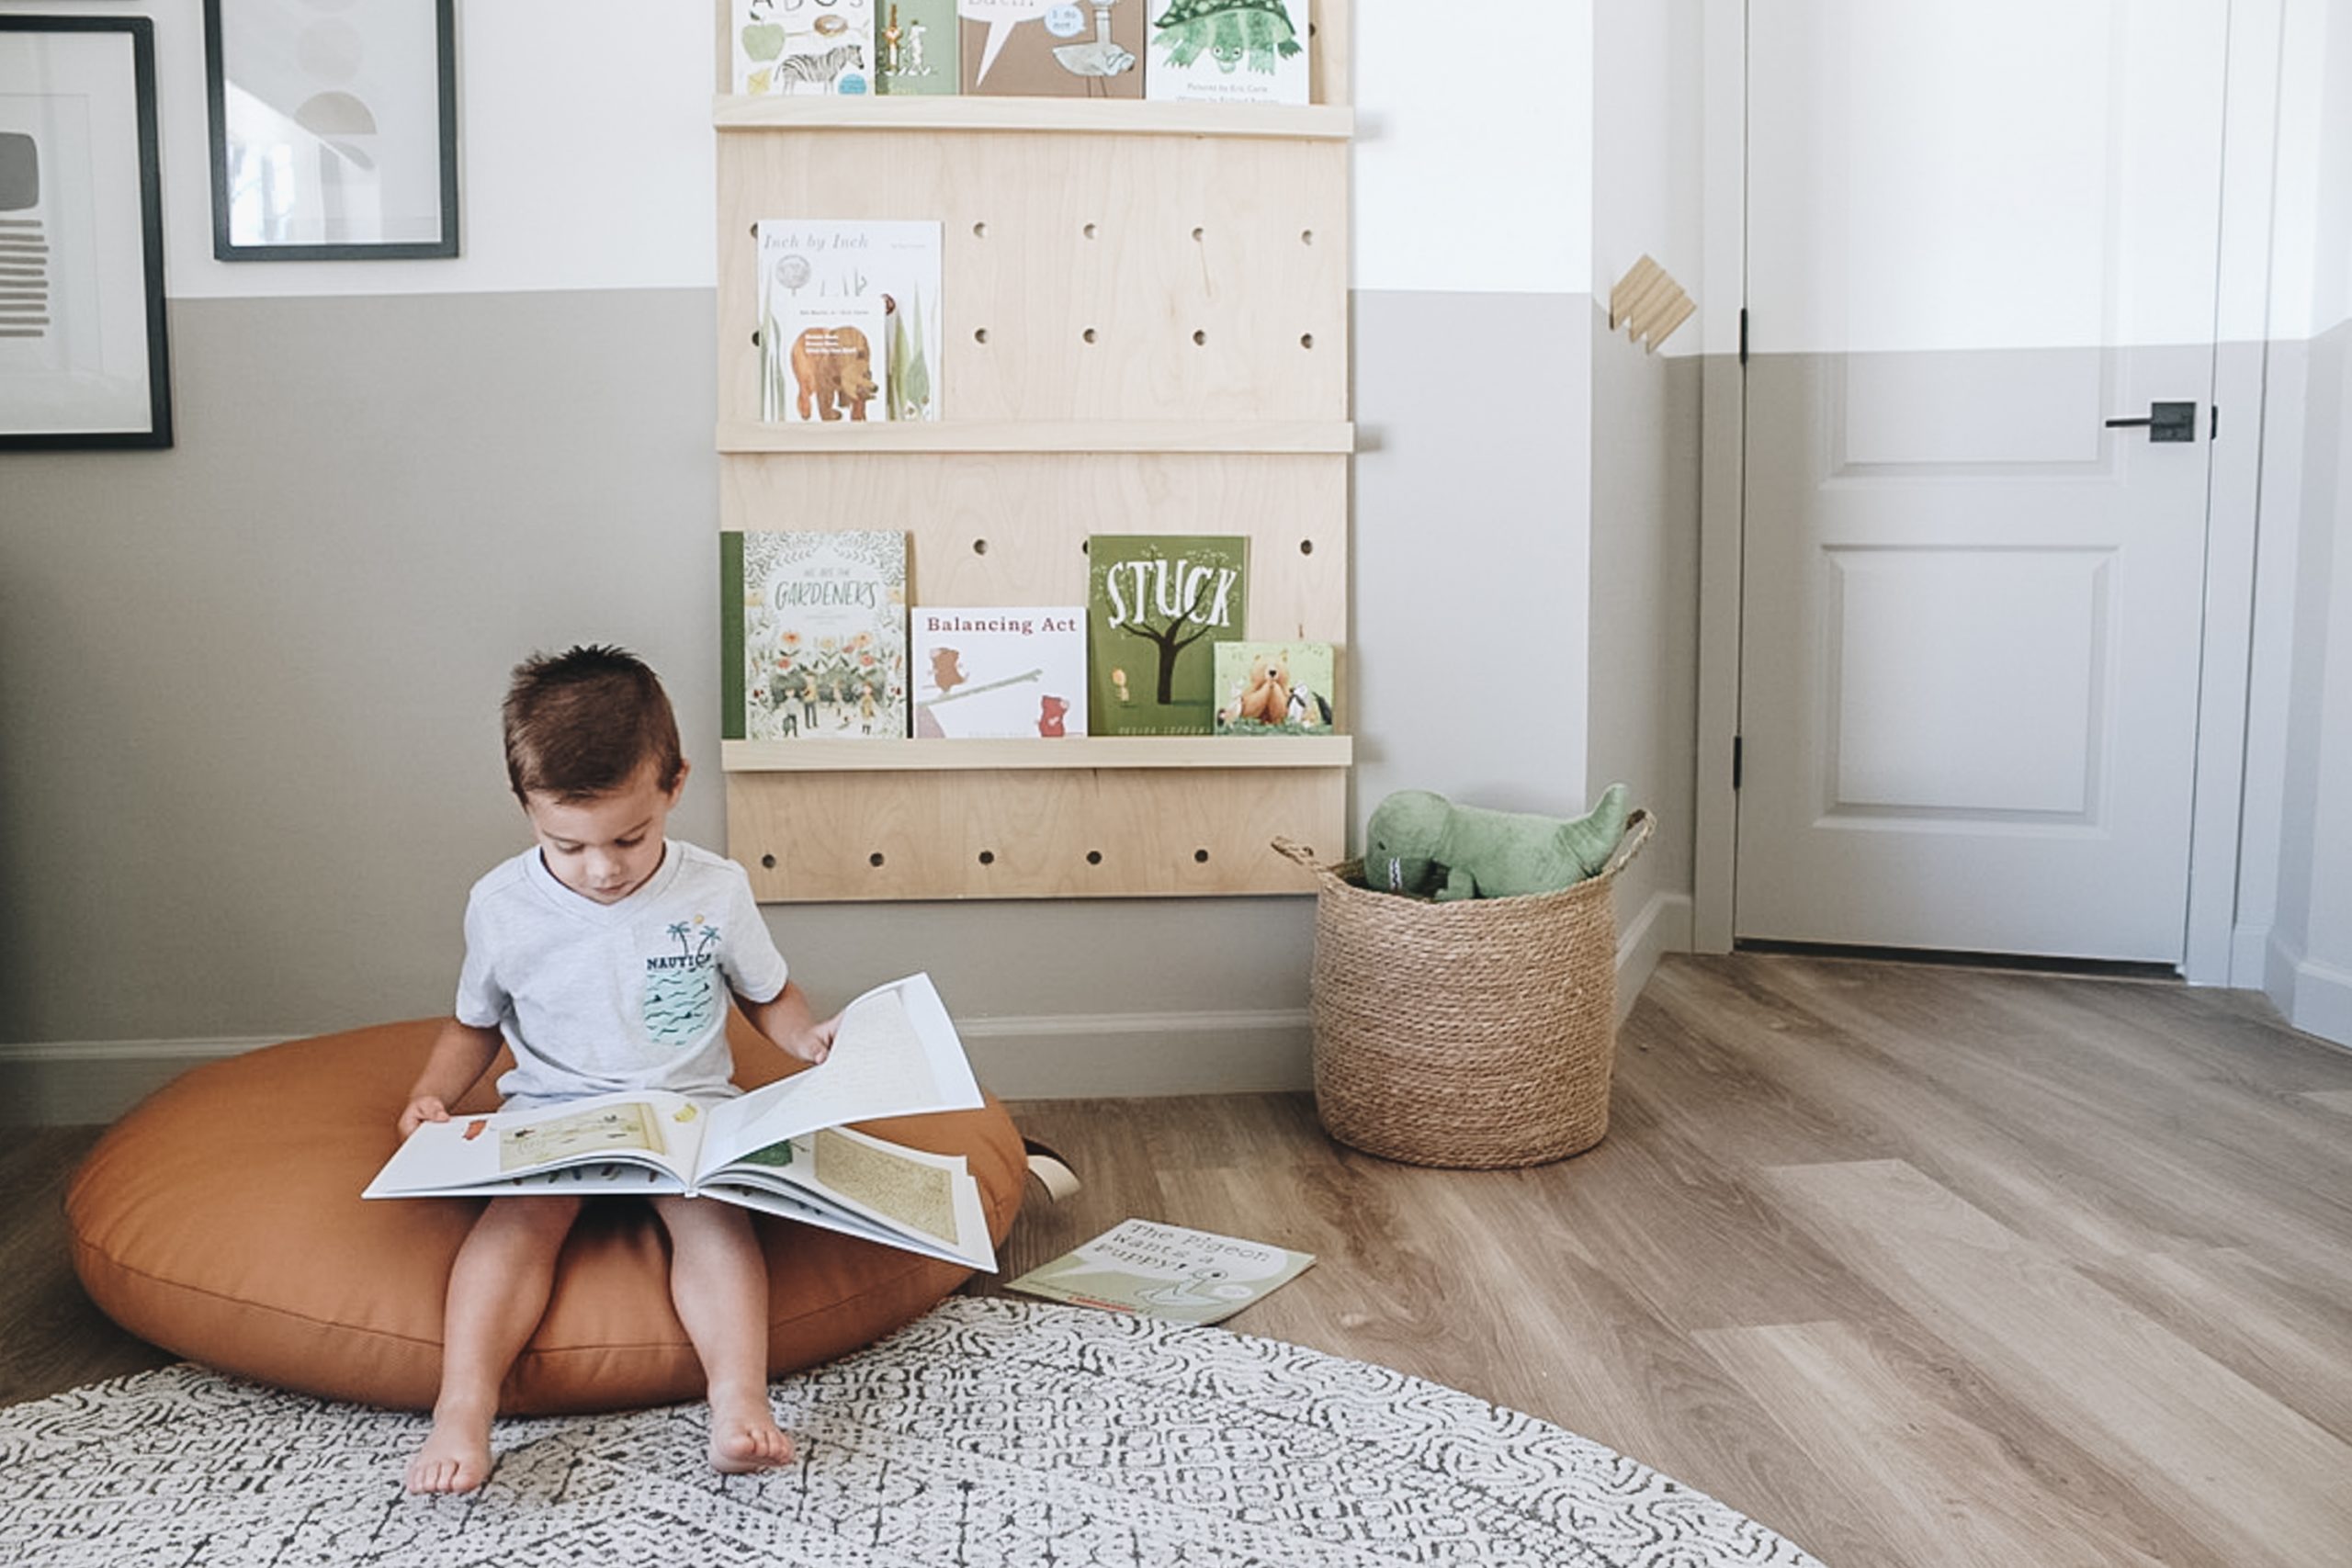

We installed STAINMASTER Luxury Vinyl Plank flooring and were totally blown away by the quality and the simple process. Learn more about how to install LVP flooring in this detailed guide.
Before we dive all in, here’s a little backstory with how this project came to be. When I attended the Haven Conference in the summer of 2019, I went running to toss my business card in a bowl of hundreds with 5 minutes to spare. During the closing ceremony, the cards were mixed up and pulled for prizes—the first prize to win: STAINMASTER® flooring. And guess what!? My card was picked out of a bowl of hundreds, and I won STAINMASTER® flooring! I couldn’t believe it!

Fast forward, we picked out luxury vinyl flooring for three rooms and asked to leave one room for Ryan and me to DIY. We wanted to experience both the process of getting the floors installed by someone else and installing the flooring on our own. You can see how it went with the pros here (spoiler: it was amazing). As for this post, we’re sharing how you can install your own STAINMASTER® PetProtect™ luxury vinyl flooring after we successfully installed ours.

What Is LVP Flooring?
For all three bedrooms, we decided to go with the STAINMASTER® PetProtect™ luxury vinyl flooring in Alpine. It’s a floating floor with a click to lock system, making it very doable as a DIY. Our color is no longer available but there are plenty to choose from! We ultimately decided on this STAINMASTER® PetProtect™ flooring because it resists odors from pet accidents, resistant to scratching, and it’s easier for us to keep clean in our Florida home.

How Hard Is It To Install LVP Flooring?
If this is your first DIY project, then chances are you might find installing LVP pretty complicated. But if you’re confident in your hands-on skills, then installing LVP is really not that bad. Just make sure to take your time on the prep work and installation to ensure you get the best fit.
How long does it take to install LVP?
The time it takes to lay down luxury vinyl plank flooring depends on several factors, including the size of the room, the complexity of the layout, the preparation and the type of installation.
Most DIYers can install LVP in a standard-sized room in about one to two days. Larger rooms, or rooms with intricate patterns, can take longer.
Ultimately, the timeline for laying down LVP flooring can vary from project to project, so it’s essential to allocate enough time and plan accordingly to ensure a successful and stress-free installation process.
Tools Needed to Install LVP
- STAINMASTER® PetProtect™ Luxury Vinyl Flooring
- 6 mil underlayment
- Shop vac / broom
- Leveling concrete
- Crack flex sealant
- Pencil
- Laminate flooring cutter
- Rubber hammer
- Spacers
- Tape measure
- Tapping block
- Jigsaw
- Table saw
- Pull bar
- Construction adhesive
- Hot glue gun + glue
- Transition piece (sold separately from flooring)
Prepping for LVP Installation
Like with most DIY home projects, the prep work is just as important as the installation when it comes to LVP! Here are some key steps to take before installing your STAINMASTER® flooring.
Baseboards
Let’s chat about baseboards for a minute. We had the option to either remove or keep the existing baseboards. You can certainly keep them, but you’ll have to place a shoe molding along the base of your baseboards for a finished look. It will also help hide the luxury vinyl not meeting up to the baseboards. More on this in a second! We removed all of the old baseboards because we wanted to avoid the shoe molding and installed new baseboards once the flooring was installed.

Removal of Old Flooring
Depending on your existing flooring, this step could look different for you. Our old flooring was a laminate flooring that we could easily remove since it was a floating floor as well with a click and lock system. We started in a corner and popped all the old flooring pieces out. Make sure to remove the old underlayment as well. It may have taken 10 minutes to clear out the entire room. You’ll want to take the time to research the best way to remove your old flooring depending on what you have.


Floor Prep
Prepping the floor for the new flooring is a step that you want to take your time with and not skip. Once all the old flooring is removed, remove all the dirt and dust from the entire room. I found it best to use a shop vac to run it along every inch of the floor and the baseboard area.

Check to make sure the flooring is level in all areas. If not, you risk your flooring messing up over time because of it dipping down in areas when stepped on. We used a 4-foot level to run along the floor. We were looking for any areas that dipped when the level went over it. Luckily for us, our floor was level. If your flooring is not level, it’s a must to make it level. One of the easiest ways is using a leveling concrete that spreads across unlevel surfaces filling in low spots, which then creates a level surface.

You’ll also want to check for any cracks in your foundation. We had a few cracks where I could use a crack flex sealant to seal them. If cracks are left exposed and not sealed, it allows for moisture to seep underneath the newly installed flooring.


Installing LVP Flooring
It’s time to get the flooring installed. STAINMASTER® brand does not recommend any type of barrier or underlayment. We went ahead and placed one down as a precaution since we live in Florida. We used a 6 mil liner to prevent moisture from getting to the luxury vinyl by spreading it across the floor. Don’t worry about it being completely flat right now. You can smooth it out and cut any excess that you need to as you go.

How to Start LVP Flooring
Typically you want to start in a 90-degree corner with your first piece of luxury vinyl and take into consideration what way you want your floor to go. A good rule of thumb to follow is to lay them parallel to the longest run of the room. We got lucky and the corner we started in was pretty much smooth sailing. The opposite side had a lot of time-consuming cuts with three different door frames, which allowed us to get into a groove before getting to those trickier areas.

We placed a full-length vinyl plank in the corner we were starting in and placed spacers between the plank and wall. The spacers leave an expansion gap so that the vinyl can expand and contract, which happens with a floating floor. You’ll do this with all the planks that meet the walls. If baseboards were removed prior, the new baseboards will cover the gap. If baseboards are left on for the floor install, shoe molding will need to be installed to cover the gap. It all comes down to personal preference.
Creating Your LVP Flooring Pattern
The goal is to stagger the planks so that the ends aren’t lining up with each other. To achieve this, we used a flooring cutter (the best investment for this project) to trim the luxury vinyl planks. We cut 14 inches off the next piece of luxury vinyl and installed it as the first piece in the second row directly below the first plank. We followed this same method for the third and fourth row, where each vinyl piece was cut 14 inches shorter than the previous piece installed above it. This pattern will repeat every 4 rows.

**TIP: So you don’t waste any pieces of your luxury vinyl, save the ends of the vinyl planks you don’t use as the first piece of a row. Use these where you can when starting a new row. They don’t all have to be cut to the exact size as long as the boards are staggered. Keep in mind the joints of adjoining rows need to be at least 6 inches apart or more for stability.
**TIP: Cut a piece of cardboard at 14 inches so you do not have to measure out 14 inches on every first piece of a row. Simply line up the cardboard piece with the end of the blank and mark where it ends. There are your 14 inches!

How To Install Click And Lock Luxury Vinyl Planks
To connect and install the STAINMASTER® PetProtect™ luxury vinyl pieces, a click and lock system is used. There’s a locking mechanism on the bottom of the vinyl piece in the upper row and the right side of the piece in the same row. The next piece to be installed will be clicking into this locking mechanism.
We found it best to hold the vinyl piece at a 20-degree angle, connecting the click and lock pieces and pushing down on the edges until we heard the pop sound. There still may be a little adjusting to do.


Fixing Gaps Between Planks
Once a plank was secured, we checked for any gaps between the boards. You don’t want to see even the slightest gap because it will allow any moisture or liquids to go between the planks. To fix it, we first hit the top side of the edges of the plank with a non-marking rubber mallet to make the edges flush with the previously installed planks.

Using a tapping block, we placed it along the edge of the long side of the plank. Be very careful to place it along the upper edge and not on the locking mechanism. It will break the locking system preventing the adjoining piece from locking properly. Lightly tap the tapping block with the rubber hammer until you see the gap close. Repeat this on the short end as well to close the other gap. You’ll do this for all of the interlocking sides.


How to End a Row of LVP Flooring
When reaching the end of the row, we tried to use a scrap piece of vinyl with the locking mechanism along the left side, top, and bottom. If we needed to trim the scrap piece down to fit appropriately, I turned it upside down to measure it. I lined it up with the end of the top board and marked where the board to the left ends on the scrap piece. Using the floor cutter, I cut along the line I just marked. The last piece of the row is ready to be installed.
TIP: Since the tapping block won’t fit on the end of a row to close the gap, use a pull bar by attaching it to the end of the plank. A rubber hammer will still be used to hit the other end of the pull bar to close the gap.

Installing LVP Around Door Frames + Angles
I thought working around a door frame was going to be trickier than what it was. I have a little trick for you that makes it very simple to figure out how much and where to cut the vinyl plank. I push the short edge of the plank to the spot where it needs to go, placing it on the inner side of the door frame to push it up. I then marked a horizontal line on the board that aligns with the edge of the wall and trim.

Next, I slide the plank next to the piece it will be attaching to and mark the vertical line of the door frame and/or wall. This connects the vertical and horizontal lines and shows the line that needs to be cut along with a jigsaw. This will cut the piece off to allow the plank to beautifully hug around the doorframe like a puzzle piece and install like all the other pieces.

If the flooring is transitioning into a different type of flooring with a connecting room, an inch gap was left between the vinyl and the flooring the vinyl is meeting. This will allow for enough room to install the transition piece for a clean and finished look.

Installing the Last Row
Getting to the last row of installing the luxury vinyl was the best feeling! We were in the home stretch. If you’re lucky, the last row will fit perfectly without any cuts needed. But if you’re like us, you’ll have to trim the boards down if they’re too wide. We measured and marked where we needed to cut and used a table saw to cut the vinyl planks down to size. Don’t forget to figure in the gap needed between the plank and the wall.

Installing LVP Transition Piece in Doorway
**My transition was applied over concrete slab.
To ensure the transition piece would have a firm and secure hold, I vacuumed out the gap first to start with a clean foundation. Using construction adhesive, I applied it directly to the concrete slab going the length of the doorway. Using a hot glue gun, I applied hot glue in a few spots. The construction adhesive takes a little bit to fully dry, so the hot glue secures the transition piece while the adhesive dries.

Slide one side of the bottom piece of the transition piece under the vinyl flooring and firmly press down. Snap the top piece into place and cover with painter’s tape over the entire length of the transition piece. Do not take off for 24 hours to allow the construction adhesive to fully dry without moving. That’s it!

Whew! Installing the STAINMASTER® PetProtect™ luxury vinyl flooring was a fun experience and project to complete in our home. It was honestly easier than what I was expecting to install. It’s the perfect DIY project to tackle yourself when replacing flooring in your home if you’re up for the challenge.

Common Questions About Installing LVP Flooring
Does luxury vinyl flooring need to be glued down?
The answer to this question depends on the type of LVP you choose and the manufacturer’s recommendations. While some luxury vinyl planks come with a self-adhesive backing for easy installation, others require adhesive for a more secure bond. Still others – like the LVP we used – don’t use adhesive at all and instead are considered floating floors. Always check the manufacturer’s guidelines to ensure proper installation and long-lasting results.
Do you have to put anything under luxury vinyl flooring?
Generally, luxury vinyl plank flooring can be installed directly on top of most existing hard surfaces, such as plywood, concrete, or tile. However, it’s essential to ensure that the subfloor is clean, level, and free of any debris or imperfections that could affect the installation or the final look of your floors. In our case, we decided to lay down a thin sheet of plastic sheeting to help keep moisture away from the planks.
Do you lay LV directly on the subfloor?
Yes, you can install luxury vinyl plank flooring directly on the subfloor. Just make sure the subfloor is clean, dry, and level before beginning installation to achieve the best results.
Does Stainmaster vinyl plank need to acclimate?
Acclimation requirements can vary depending on the manufacturer and the specific type of luxury vinyl plank flooring you choose. Some products may require acclimation to the room’s temperature and humidity levels before installation to prevent expansion or contraction after installation. Always refer to the manufacturer’s instructions for the recommended acclimation period and process.
Is it better to glue or float LVP?
Again, this depends on various factors, including the type of subfloor, the specific LVP product, and personal preference. Gluing down LVP can provide a more secure and stable installation, especially in high-traffic areas or environments prone to moisture. On the other hand, floating installation allows for easier removal and replacement of individual planks, making it a popular choice for DIYers. Consider your specific needs and consult with flooring experts to determine the best installation method for your project.
Can you pull up LVP and reinstall it?
One of the biggest benefits of luxury vinyl plank flooring is its ease of removal and reinstallation, especially if it’s installed using the floating method. If you ever need to replace a damaged plank or update your floors, simply lift the affected area and replace the plank with a new one. However, if your LVP is glued down, removing and reinstalling it can be more challenging and may require professional assistance.
Install Your Own STAINMASTER Luxury Vinyl Plank
If installing throughout most of your home, it will save you a lot of money to DIY, but in exchange, it may take a little longer compared to hiring it out. You can’t go wrong either way! I hope this helps give you the confidence to try installing STAINMASTER® PetProtect™ luxury vinyl flooring in your own home. If you want to see the process of hiring out your flooring install, I shared all about that in this post.
** And since this DIY project, we now have STAINMASTER® PetProtect™ luxury vinyl flooring throughout our entire home. Check out the huge before and after transformation of our home.


Come join us on our other social channels for even more behind the scenes.
Like on Facebook || Follow on Instagram || Follow on Pinterest
