• Home
  • ABOUT
  • WORK WITH ME
  • Paint Colors
  • Shop Our House
    • Guest Bedroom
    • Front Living Room
    • Living Room with Fireplace
    • Previous Second Living Room
    • Current Playroom
    • Prior Playroom
    • Dining Room
    • Laundry Room
    • Oliver’s Bedroom
    • Guest Bathroom
    • Covered Lanai
    • Patio
    • Master Bedroom
  • CONTACT
    • Facebook
    • Instagram
    • Pinterest

Within the Grove

Join the list to receive occasional news and special updates!

How to Paint Cabinets and a Contrasting Trim

October 25, 2020

This post is sponsored by BEHR® Paint but all opinions are my own.

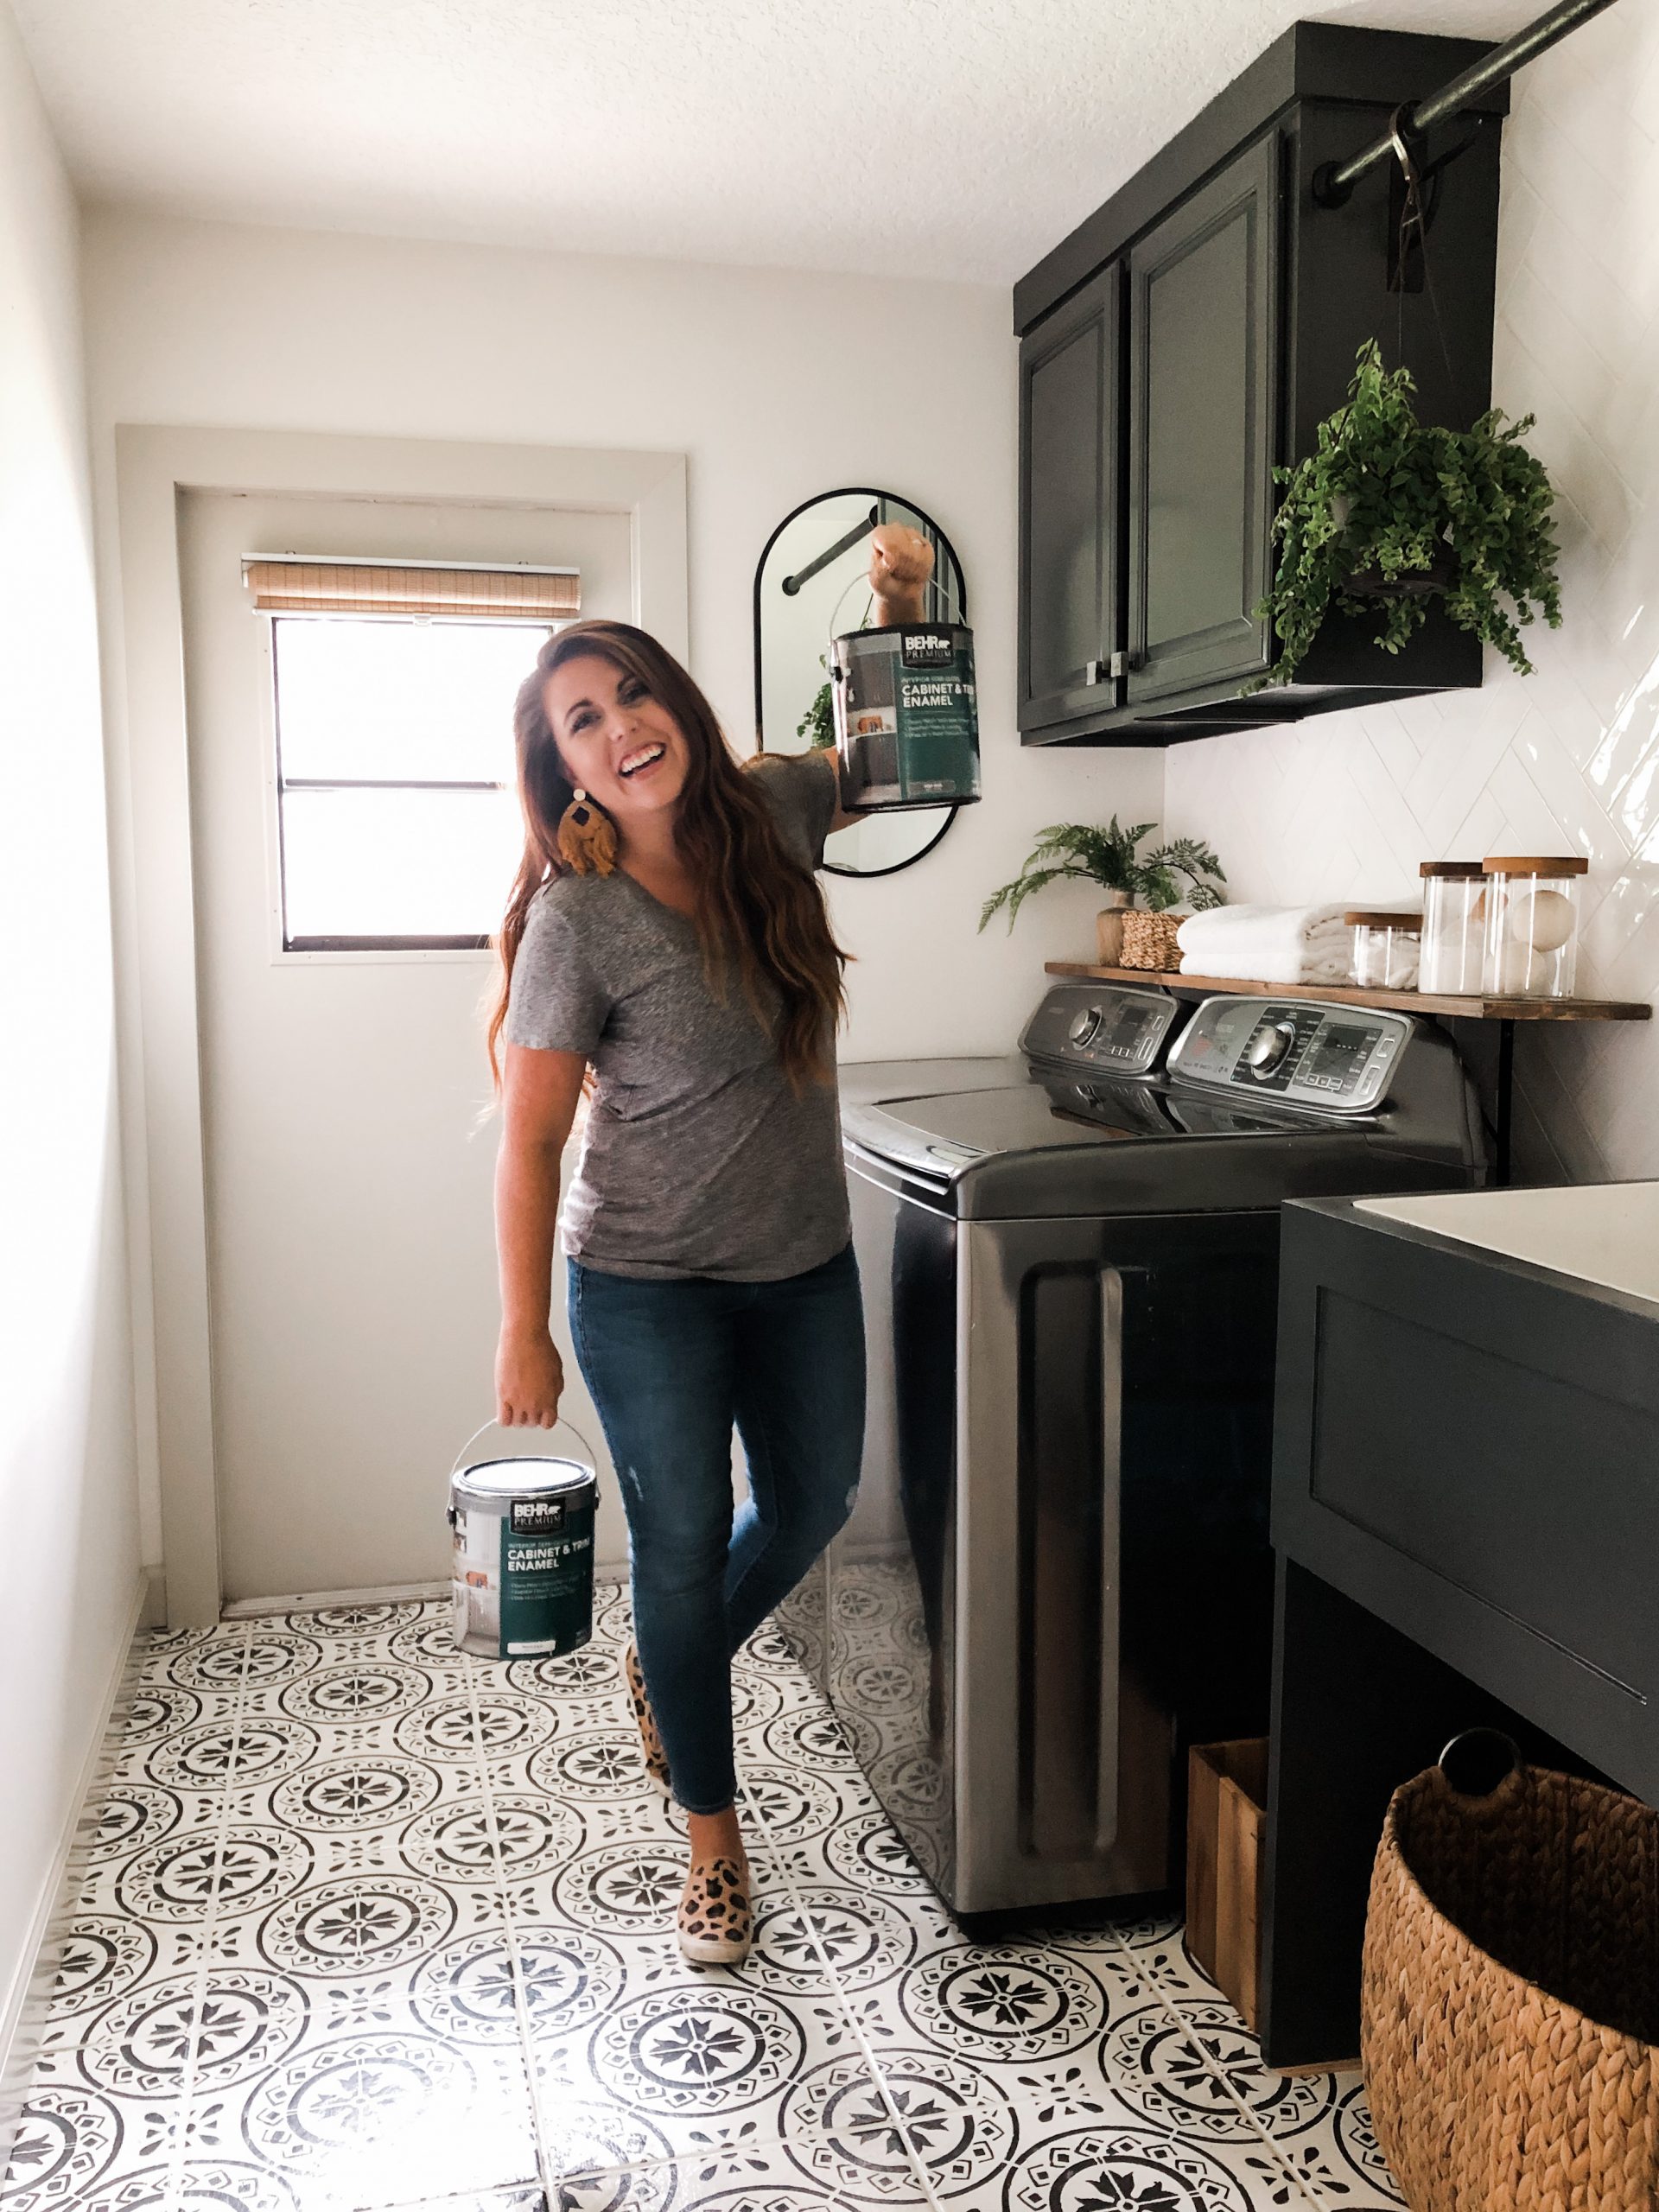
I’m so excited to share this laundry room update with you today! For months I’ve been wanting a try a new color on the cabinets along with painting the baseboards, trim, and doors a contrasting color. With everything painted white, minus the cabinets, the laundry room seemed a bit washed out and bland. But not anymore! Here’s a look at the before and after of the laundry room.

A successful paint project comes down to the type of paint you use. Knowing that I was going to be painting trim, doors, and cabinets, I knew the exact paint that would give me professional results: BEHR PREMIUM® Interior Cabinet & Trim in semi-gloss. And let me tell you, it didn’t disappoint. Here are a few reasons why I went with this paint by BEHR: 

  • Excellent flow and leveling
  • Dries to a hard, durable finish
  • Resists dirt, grime, and household chemicals: prolongs the life of the paint. 
  • Easy soap and water clean-up

If you’ve ever wanted to paint cabinets yourself but didn’t know where to start, here’s how I transformed mine. It’s easier than you may think. Here’s how to get a professional look at an affordable price point.

How to Paint Your Cabinets

What You’ll Need

  • BEHR PREMIUM® Interior Cabinet & Trim (tintable in a full range of colors)
  • BEHR® Kitchen, Bath and Trim Stain-Blocking Primer & Sealer No. 75
  • Degreaser
  • Nylon angled paintbrush
  • 220 grit sandpaper

Today Let’s Paint! 

First, wipe down the cabinets with a degreaser to get rid of any grime, dirt, or grease. Now is also the time to remove any loose or peeling paint. Luckily for me, my cabinets were in great shape and just needed a good wipe down. 

In order for the BEHR PREMIUM® Interior Cabinet & Trim to adhere properly, prime the cabinet surface using BEHR Kitchen, Bath and Trim Stain-Blocking Primer & Sealer No. 75 first. This is the best primer to use with this particular paint. Once the primer is dry, sand the primer using a 220 grit sandpaper. This will allow the topcoat to adhere even more successfully.

Apply the BEHR PREMIUM® Interior Cabinet & Trim using a 100% nylon angled brush while working in 12-inch sections. This will help to avoid hard paint lines. Apply a thin coat and follow it up with a second coat once the first is dry. My rule of thumb is to always apply at least two coats of paint. This will give you the true paint color and it will increase the durability of the paint once it dries.

Painting cabinets can be tricky because of dry time and wanting to get cabinet doors back on. Luckily, BEHR PREMIUM® Interior Cabinet & Trim has a fast drying time and doors won’t stick after two hours. Sometimes it’s the little things like this that make the biggest difference!

When painting doors, trim, and baseboards, you’ll follow these same steps for the best results. I’m also very excited about using this BEHR paint on these areas because of the wear and tear they receive as well. I know they’ll be ten times easier to maintain and will continue to look brand new over time.

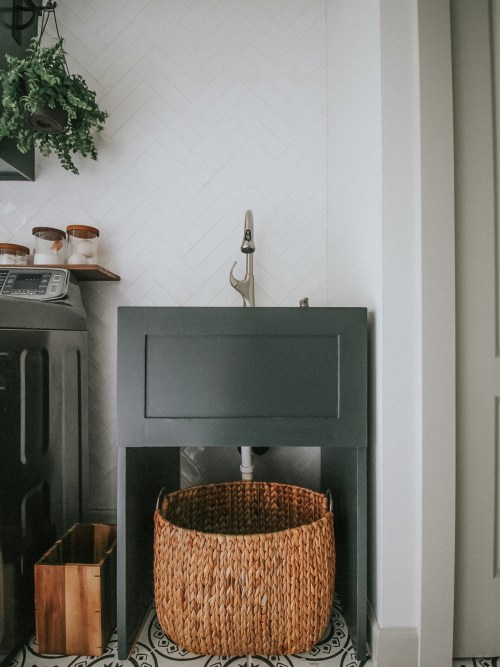
Now, let’s chat about the paint colors I used. The cabinets are painted Space Black and the trim, baseboards and doors are painted Unmarked Trail. These two colors work beautifully together! 

Space Black is a softer black with some gray undertones. I knew by wanting to paint a contrasting trim, I needed a bold neutral for the cabinets. This color allows the cabinets to work with the trim color while also standing out on its own.

If you’ve been wanting to try a contrasting trim in your home, Unmarked Trail is the perfect color! It’s a very soft and creamy beige that had me jumping with excitement with the first brushstroke of it on my baseboards. It’s such a gorgeous color and gave our laundry room space exactly what it was missing. 

I’m so impressed with finish of the BEHR PREMIUM Interior Cabinet and Trim paint. It dried very smooth and professional looking! And not only with a fast drying time, but knowing the doors wouldn’t stick after two hours, made this project even more of a success.

I hope this gives you the confidence you need to try painting cabinets in your home or with trying  a contrasting trim. The BEHR PREMIUM Interior Cabinet & Trim truly does set you up for success and will leave you feeling like DIY professional. To see more of a behind the scenes of this project, make sure to head over to Instagram where the project will be saved to my highlights! Until then, happy painting! 

Want more BEHR Paint inspiration? Check out how we painted our garage floor.

Come join us on our other social channels for even more behind the scenes. 
Like on Facebook || Follow on Instagram || Follow on Pinterest

Share this:

  • Click to share on Twitter (Opens in new window)
  • Click to share on Facebook (Opens in new window)

Related

Filed Under: All Things Paint, Home of the Rishels, Home Project, Our Home Improvements

« Fall and Halloween Front Door Decor
How to Install STAINMASTER® Luxury Vinyl Flooring »

Comments

  1. Chris says

    October 25, 2020 at 11:31 pm

    I’ve been following along and love it all! Would you mind telling if you painted the closet door and room entry door with a brush or roller and did the paint do a good job hiding the brush/roller marks?

    Reply
    • WithintheGrove says

      October 27, 2020 at 8:36 am

      Hi Chris! I used a nylon brush on the closet door! It did a great job concealing the brush strokes. On a very smooth surface I would probably switch to a roller.

      Reply

Leave a Reply Cancel reply

Your email address will not be published. Required fields are marked *

This site uses Akismet to reduce spam. Learn how your comment data is processed.

Looking for something?

withinthegrove

This pretty much sums up the progress of making 25 This pretty much sums up the progress of making 250 cement tiles. But I’m halfway through! The moment I finish the last tile is the moment I knock out the old tile. Let’s do this!
Time to bet on my DIY skills! I’m attempting to Time to bet on my DIY skills! I’m attempting to make my own cement tiles for our outdoor front door area. Mainly because of what I’m saving vs buying them. Won’t be saving much on time but I’M MAKING TILES! Never thought I’d hear myself say that. Make sure to follow along because if this works out, I have a feeling a lot of you are already eyeing a spot in your home to try your own DIY cement tiles. 
 
Thank you @vintagerevivals and @abby_roadhome for showing it’s possible with your gorgeous bathroom tiles! 

#CementTiles #DiyCementTiles #DiyProject #DIYonABudget #DIYProjects
We got the call that the pool build is starting! W We got the call that the pool build is starting! Which had me scrambling to dig up all the plants that were in the way in an effort to save them. Literally down to the last second before the crew showed up. Exciting day but you know what’s even more exciting? Knowing the next crew will officially be breaking ground with the excavation phase of the build.
This time of year is full of organizing and purgin This time of year is full of organizing and purging to bring spaces back to life. But sometimes all a space needs to feel refreshed is, well, a refresh and a little attention. Your number one requested space was the living room. So I gave mine a refresh with some unique and gorgeous finds from @homesense_us . I found a few fun pots for my houseplants, a gorgeous magnifying glass, and a few other items for our coffee table and couch.

I never know what I’m going to find when I walk into Homesense since it’s always rotating with amazing finds. But I do know I’ll walk out with a few new favorites for my home at affordable prices. If you haven’t yet, I urge you to check and see if you have a Homesense near you! #DiscoverHomesense #HomesensePartner
2022, you were awesome. But I’m determined to ma 2022, you were awesome. But I’m determined to make 2023 even better! And I hope you join me! We can be one of our biggest cheerleaders, but together we’re going to do big things. Go ahead and write down a big, small and a few in-between projects you want to get done this year in your home. Kicking it off with intention and that reminder that we can do this. Ready to get started?! Let me know in the comments the first project you want to tackle!
We finally got the Christmas/winter edition of the We finally got the Christmas/winter edition of the window projection up and running! It was a hit for Halloween and just as fun for this time of year as well. I built frames wrapped with a plastic drop cloth but you can also secure the drop cloth over the windows using command strips. The videos are from @atmosfx and we use a mini projector to play them on the screen. Place a Bluetooth speaker outside and you’re in business! Such a fun addition this time of year for the exterior of your home.
It’s the last little bit of the demo we needed t It’s the last little bit of the demo we needed to do in order to give the green light for the pool to start. And 2,456 pavers later, it’s done! This was exhausting but worth the money we saved doing it ourselves. And why remove them? We’re using a different stone around the pool and we want it to be cohesive up to the house. Don’t worry, someone got one heck of a deal on these pavers, we made a little money, and someone else got them out of our driveway. I’d say that’s a win-win. Stayed tuned for the entire pool process as we enter 2023. It’s going to be pretty exciting to watch!
Our patio space has served us so well over the yea Our patio space has served us so well over the years and now it’s time for a change because we’re getting a POOL!! Sharing this with you makes it even more real because just a year ago I would have told you it isn’t in the cards for us. We’ll be breaking ground soon but first we have to remove the screen enclosure. Spoiler: we won’t be putting one back up around the pool. It has already made the biggest difference visually and SO much natural light pours into our home now with it gone. It’s going to be so exciting seeing this all unfold so stay tuned! Up next: removing the pavers.
This holiday season we were able to travel to my h This holiday season we were able to travel to my hometown for the first time in awhile. We were greeted by the most beautiful sunset on the beach. Fast forward to this week as I headed to @homesense_us for some holiday shopping, and I ended up finding a few pieces for our home that remind me of that core memory on the beach. The beautiful wicker bench caught my eye first followed by the comforter and toss pillows. Everything at amazing price points while not sacrificing style and quality. #HomesensePartner

Mixing a thrill of a find with a core memory, I guarantee you'll fall in love with your home even more as you go to decorate. Decorating your home isn't grasping on to the newest trend or what you think others would do. It's what YOU want to do. And sometimes that's based on an emotional connection. Oh, the stories your spaces will be able to tell as you decorate each one. Start with seeing if there’s a @homesense_us near you! #DiscoverHomesense #HomesenseSarasota
Load More... Follow on Instagram

Sign up here to have our fresh posts delivered to your inbox!

Enter your email address:

Delivered by FeedBurner

Copyright © 2023 Within The Grove • Customized by Brave Creative Design · Log in

  • Privacy Policy
  • Terms and Conditions
  • Disclosures + Photo Usage
 

Loading Comments...