


How to Paint Garage Floors with 1-Part Epoxy Paint

Want to transform your garage? Follow along with my garage floor makeover and learn how to paint garage floors.

I did a thing: I painted our garage floors. This is part of a whole garage transformation that we’ve started, which is why we had to clear out the garage. We figured why not go ahead and paint the floors while it’s empty. I’m not sure when this garage will ever be empty again besides putting our home up for sale.
But back to my story. . .I painted the garage floor and the results are GLAMOROUS. Yes, you can call floors glamorous when they started off the way mine did and look like they do now. Case in point, here’s a before and after just for you (and I promise it won’t be the last).


Is painting your garage floor a good idea?
Painting a garage floor can be daunting. Not only is it a big space, but it also feels really permanent. In reality, however, it’s easier than you might think! This is a project that can be done over a long weekend and it’s budget-friendly. It’s also totally doable as a DIY. You’ll spend more time prepping the floor than you will be painting it.
If you’re looking to paint your garage floor, I’ll be sharing what I did to mine. But I want you to keep a few things in mind when it comes to this tutorial because my situation with my garage floor may be different from yours (or at least what you’re beginning with).
- My garage floor was previously painted.
- I had areas that were chipping.
- This tutorial is for Behr’s Concrete and Garage 1-Part Epoxy Paint.

What kind of paint do you use on garage floors?
You’ll find that there are several different ways you can paint a garage floor. Mine will be one of them! This is what worked best for us. I’ll do my best to cover all the “what if” areas and answer questions at the end of the post that I’ve been asked.
I decided to go with Behr Premium Concrete and Garage paint that’s self-priming and 1-part epoxy. You have the option to choose between quite a few colors with this paint. We originally narrowed it down to three but ended up going with the darkest one, Slate Gray. We figured this would do the best when it comes to hiding things on the garage floor. It’s also the only one that’s already pre-mixed but you’ll still want to ask Home Depot to shake it for you.
The Behr Self-Priming 1-Part Epoxy paint will not only help your garage look better, it’s also really protective of your garage floor. It resists peeling caused by hot tires and provides a stain, chemical and weather resistant finish so your floor stays cleaner longer.

There are other garage epoxy kits that can be triple the amount in price. I spoke with a specialist about the differences when deciding, and at the end of the day both wear down the same way. As in, eventually, you’ll see where the tires wear away the paint. So, I went with the Behr Concrete and Garage Paint.
There are also plenty of other types of paint for garage floors, including latex paint and oil-based paint.
HERE’S WHAT YOU’LL NEED TO PAINT GARAGE FLOORS
** Some of these links are affiliate links.
- TSP
- Water hose
- Scrub brush
- Rag
- Bucket
- Squeegee
- Orbital hand sander
- 80 grit sandpaper
- Metal putty knife (depending on your floor)
- Nylon/polyester brush
- 3/8″ nap roller
- Extension pole
- Paint tray
- Behr’s Concrete and Garage Floor paint in Slate Gray
- Skid Resistant Additive
How to Prep a Garage Floor for Paint
Clear Out the Garage
You obviously need to clear out your garage. If you’re able to find another secure spot for your belongings, that’s amazing! This project will take a day or two to complete and another 72 hours for it to fully cure. We placed our items on our back patio or you could even rent a Pod for a few days to help store your items.

Clear Debris
Once the garage is cleared out, sweep everything out that you can. It will go a little quicker if you use a leaf blower if you have one.
Wash the Floor
Using TSP, scrub the garage floor to remove any grime, oil, grease, etc. from the floor. We used a large bucket filled with hot water, a splash of TSP, and a scrub brush to clean the floor. This made it super quick and easy! You’ll then rinse out the garage with a garden hose to get all of the TSP residue out.
Here’s where things can differ. If you have a previously painted floor like mine, you’ll want to use a water rose to rinse it out. If you’re working with bare concrete, you can use a pressure washer. A pressure washer on a previously painted floor can cause the paint to come up which you don’t want.
Believe me, I made that mistake which resulted in me removing even more chipped paint than I expected. Either way, my biggest tip is to also use a squeegee to get any of the remaining water out. Allow the floor to dry 24 hours before moving on to the next step.

Etching Garage Floors Before Painting
Now, here’s one step I didn’t do because since my floor was previously painted. But if you’re working with bare concrete, you’ll want to etch it. This will allow the pores of your concrete to open up and accept the paint even more. I’ve heard great things about this Rustoleum Clean & Etch for Concrete. Follow the directions on the package of whatever etching product you end up using.
Remove Chipping Garage Floor Paint
If you’re working with previously painted floors, now is the time to go around and remove any paint that’s chipping. You’ll usually find areas like this where the tires of the car rest. Just focus on the loose areas of paint. I used a metal putty knife to easily pop up any paint. You’ll want to sweep out your garage before moving on to the next step.
**If the paint on your garage floor is already peeling or easily coming up in all areas, you’ll want to use a paint stripper to remove it.


Sand Garage Floors
Using an orbital hand sander and 80 grit sandpaper, run the sander over the entire garage floor. Your goal is to scuff it up some to better accept the paint. If you previously chipped away any paint, you’ll need to really focus your sander on the edges where you chipped away the paint.
This isn’t the quickest part of the project but a step you certainly don’t want to skip! Remove all of the sanding dust by using a damp cloth. Have a bucket of warm water nearby to easily rinse it out. Allow it to dry (which shouldn’t take long) before you start painting.
Painting Garage Floors Step by Step
Please note: this garage floor painting tutorial is specific to the Behr Premium Concrete and Garage paint set that we purchased. If you’re using a different style or brand of paint, you may need to follow different instructions.
Mix Up Your Paint
You’ll want to apply this paint when the air temperature is between 50-90 degrees. Give it a good stir and pour it into a paint tray. I highly recommend adding this skid-resistant additive by Rustoleum and giving it another stir. This additive will help prevent a slick surface which means it prevents you from slipping and falling. I’ve used this product several times in the past on my outdoor spaces and it works! You’ll need one bag for every gallon that you use. I did this for the first and second coat of paint.
Cut In the Edges
Using a nylon/polyester brush, apply the paint around the edges of the garage first. This will make it 10 times easier once you start rolling the paint.
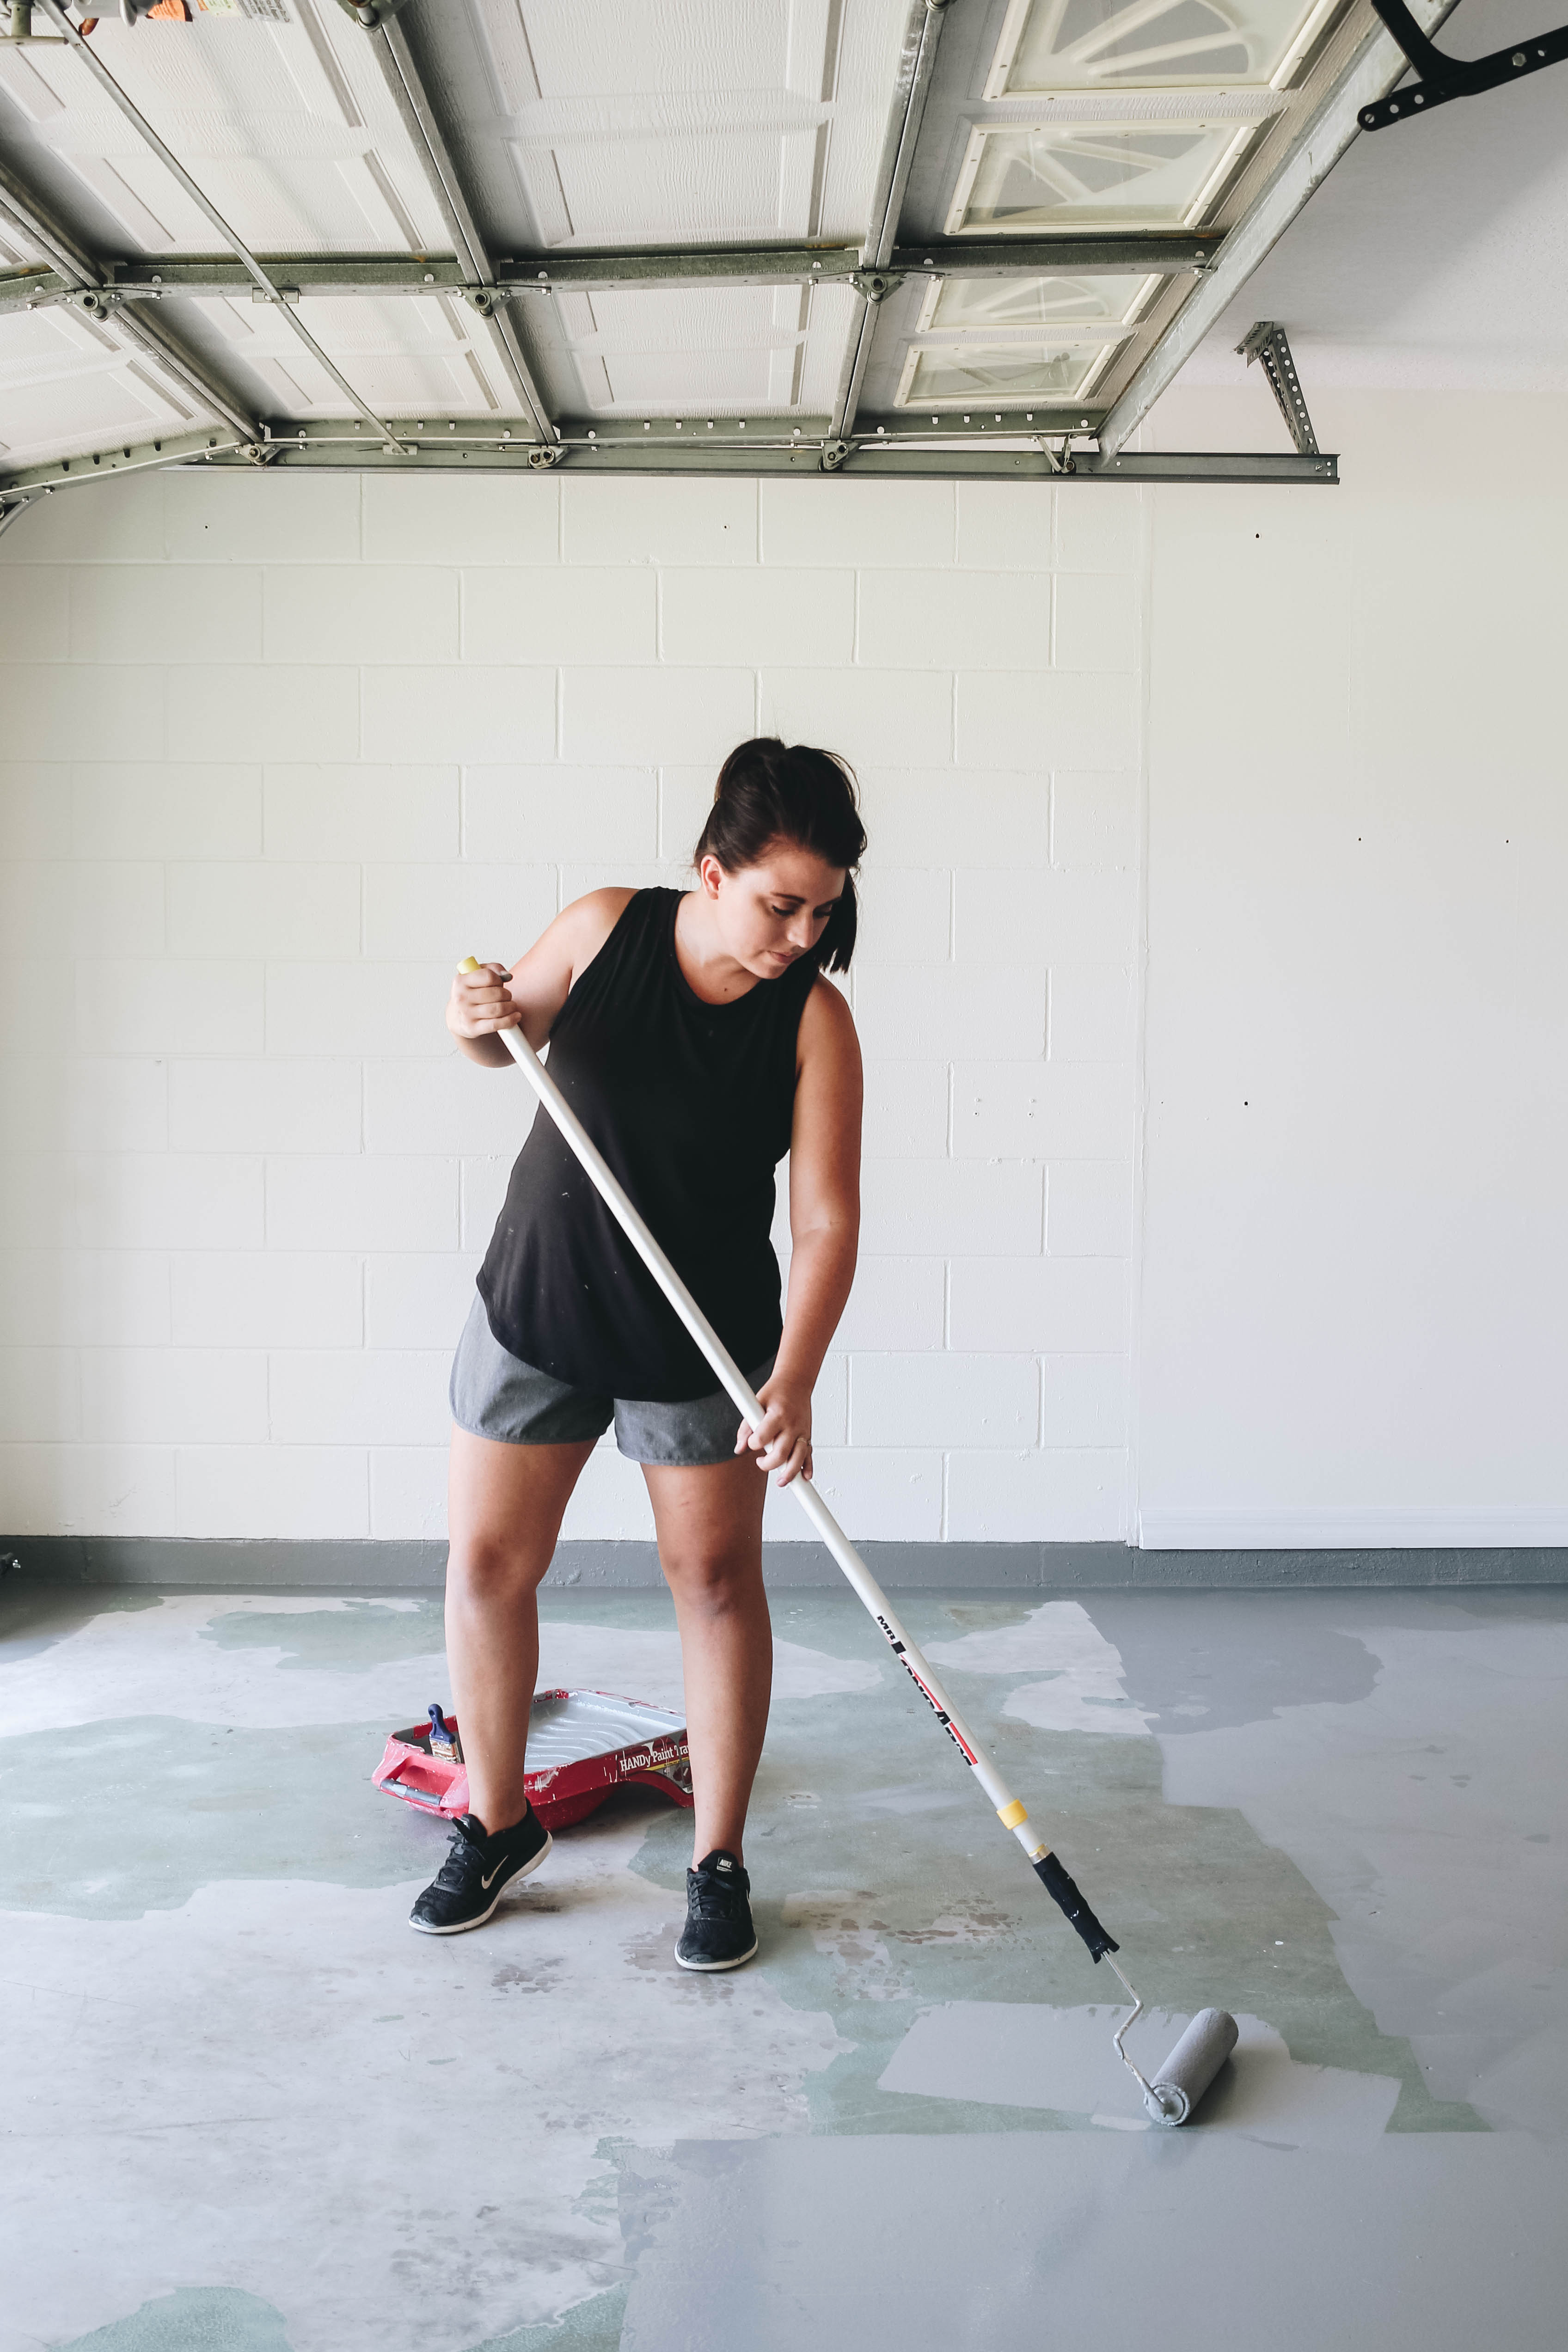
Roll The Paint
Now, using ta 3/8” nap roller on an extension pole, apply the paint in a thin, level coat as you work your way out of the garage. Tip: Make sure to stir your paint occasionally to ensure the paint mixture and additive are mixed thoroughly.

Apply a Second Coat
Dry time is 1 hour to the touch and 4-6 hours to recoat. To be on the safe side, we let it dry overnight and applied the second coat the next morning. To help achieve a uniform look, apply the second coat in a crisscross pattern and look out for any roller marks.

Let It Dry
Now that your floor is done, it’s the waiting game. It’s 24 hours until the newly painted floor can take on light foot traffic and 72 hours before heavy foot traffic and repositioning furniture (aka bringing it back inside). Allow 7 days before you drive your car into the garage. If you need to before the 7 days, place cardboard where your tires will be so the tires won’t adhere to the paint.

Now, I know that was a lot in one blog post with how to paint garage floors but it truly isn’t that bad! It’s just a lot of elbow grease and slapping some paint on the floor. To be honest, floors are my new favorite thing to paint. Well, at least garage floors. This paint went on like butter and had amazing coverage. It only took two coats and two gallons of paint to cover my two-car garage. And, as promised, here are some more before and after photos that will have you running to paint your garage floors this weekend. Don’t forget to check out the Q & A on these garage floors at the end of the post.


Common Questions About Painting Garage Floors
Is it better to paint a garage floor with a roller or brush?
I used a combination of both. A brush is helpful for doing the edges of the garage, where rollers can’t really reach. A brush also helps ensure you get a clean paint line between the floor and the wall. I recommend using a roller for the rest of the floor, however, both because painting an entire floor with a brush would be very time-consuming and because a roller will create a much cleaner finish.
Do you need to prime it first?
Nope! The Behr Concrete and Garage paint is self-priming. If you’re using a different kind of paint, you may need to prime the garage floor. Be sure to follow the instructions on your paint or ask someone at your local hardware store for advice.
Do painted garage floors chip?
It’s so important to do all of the prep work before painting to ensure that the paint adheres properly. At the end of the day, it’s paint. It will show wear and tear over time, more specifically where the tires will rest. One way to avoid the tires taking any paint away over time, you can place a piece of cardboard where your tires go. You can also allow your tires to cool down in the driveway before driving the car into the garage.
Will it feel tacky when you walk on it?
Remember, let it cure for those 72 hours before you start using it. It will feel tacky in those first few days (maybe longer if there’s a lot of humidity). But once it cures it won’t feel tacky, especially if you add the skid-resistant additive.
Do you need to use a top-coat when painting garage floors?
This paint, since it is 1-part epoxy, doesn’t require a top coat.
Can you do this on concrete that has cracks?
Yes! Ours had one or two and I left them alone. If your cracks are severe or you have a lot of them, there are several products that you can use to successfully fill in the cracks before you paint the floor. Head to your local home improvement store and ask a specialist which product would work best for you.
Can I use this paint on my porch, basement, outdoor patio, etc.?
This paint is specifically for a garage. I don’t see why it couldn’t be used in these other areas. BUT there are other paints made just for outdoor concrete, basements, etc. For example, in our previous home we painted our front porch and back patio with Behr’s Porch and Patio paint. It’s made for wood and concrete. It’s also recommended for basements. We used a concrete primer first and also added the additive to this paint. It held up great!
Is a painted garage floor slippery?
Not if you do it right! This is one of the most common questions I hear from anyone interested in painting their garage floors. But in my experience, our floor hasn’t been slippery at all! This is one reason why I like to add the Rustoleu skid-resistant material into my paint before doing the first and second coat. Some garage floor paint kits also come with colorful flakes to add to your paint before it dries, which can also help create a non-slip surface.
Let’s keep in touch!
We have a brand new community over on Facebook, House & Home, where we’ll be chatting, sharing, and helping one another when it comes to home decor and projects. Come join us! Check it out here.
Like on Facebook || Follow on Instagram || Follow on Pinterest

[…] Want more BEHR Paint inspiration? Check out how we painted our garage floor. […]
[…] repainting of the garage, we cleaned, prepped and painted the garage floor. You can check out the full tutorial here if you’re wanting to do the same! The floor alone was a game-changer and one I wished I had […]
You did an a great job and it looks amazing!!!!! ????
Or a great job ????. These silly typing fingers…
This gives me hope for ours! Great project. Well done…again!