


Empowering you to take control of your space and have a blast doing it! From minor fixes to major renovations, discover how fulfilling and fun DIY can be as you transform your house into a home you truly love.
Turning houses into homes, one fun, engaging project at a time.


Let's embark on this DIY journey!
At Within the Grove, we're all about empowering you with the knowledge, inspiration, and tools to transform your home. We believe that creating a space you love should be fun, not stressful. That's why I share step-by-step tutorials, inspirations, and tips in an engaging and relatable way. Whether it's an interior makeover or a new garden landscape, you'll get the whole package here.
Here's How We Can Tackle This Together
Ready to Become the Confident Home DIYer You Always Wanted to Be?

Our home improvements

DIY

Home inspiration

all things paint
with Inspiration in our Grove of DIY Projects
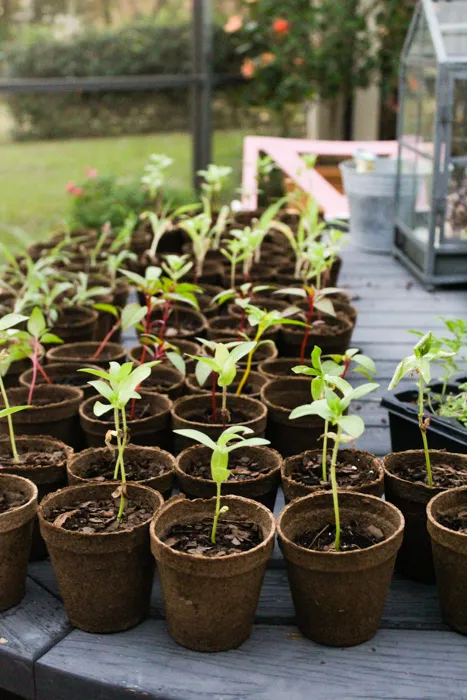
This is a go-to guide on starting seeds indoors so that you can have the summer garden of your dreams for vegetables and cut flowers.


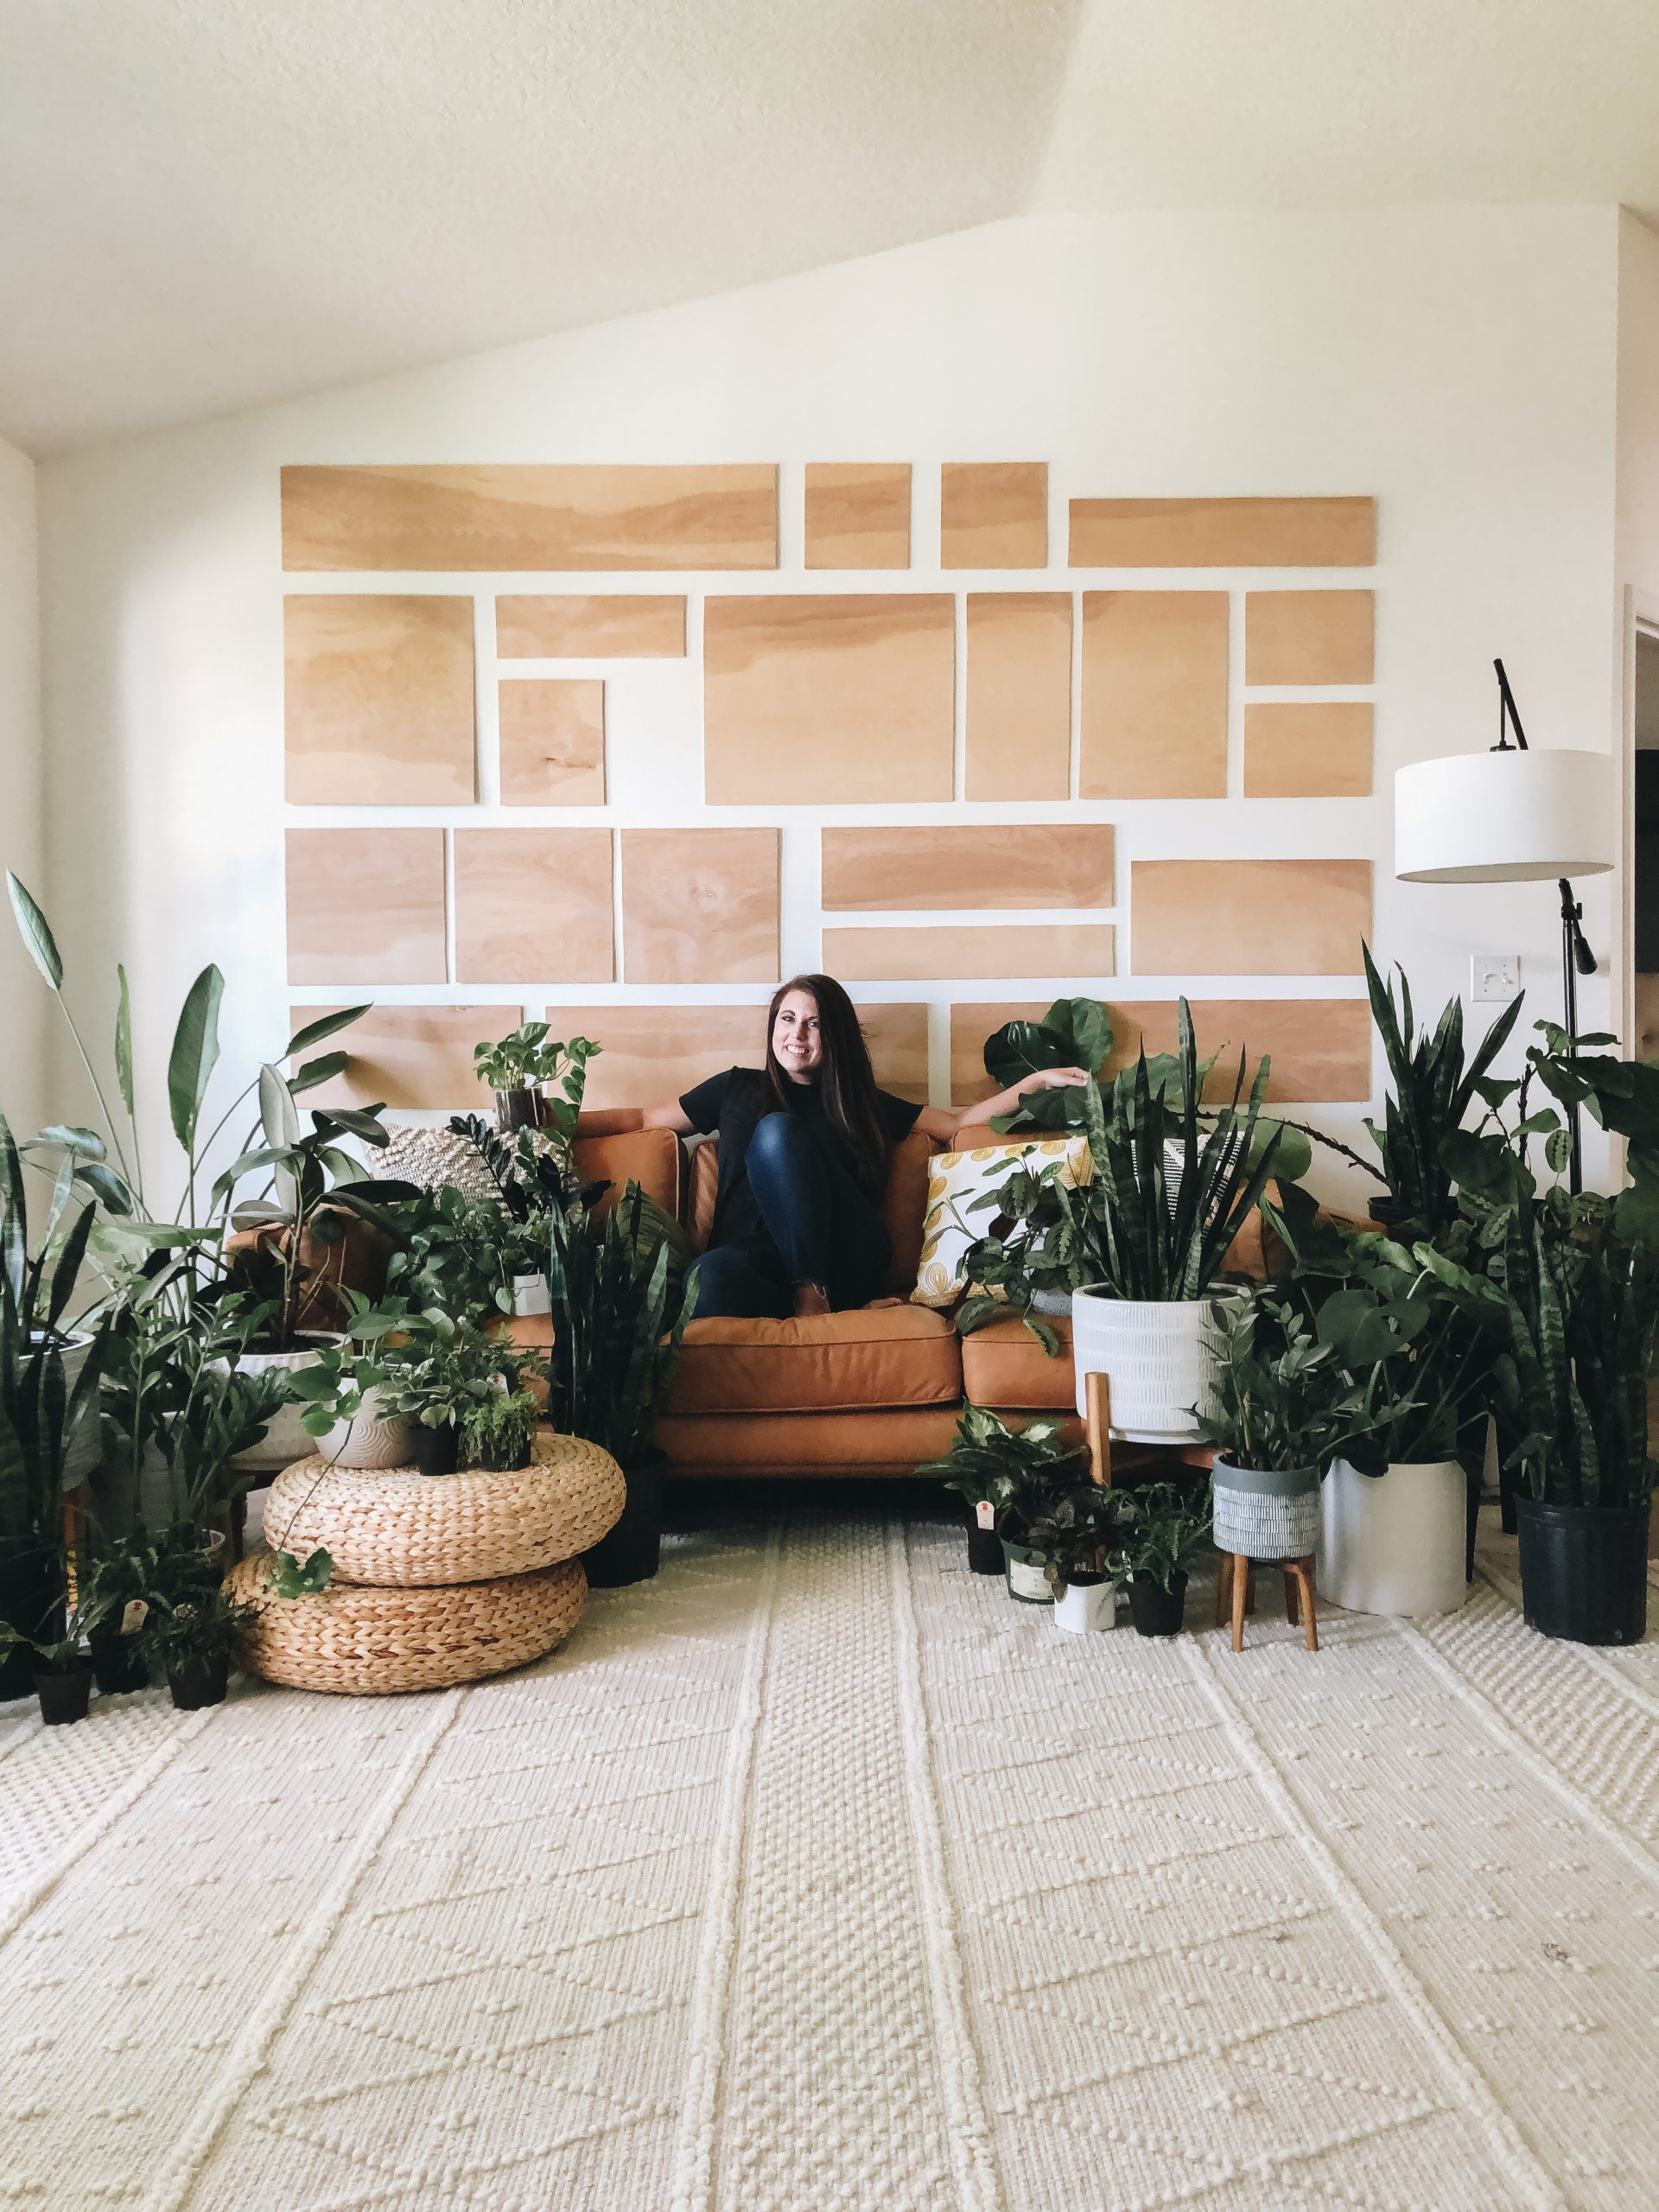
more about Liz
Hi, I'm Liz. Once a kindergarten teacher, now your go-to guide for all things DIY. My passion for teaching didn't stop when I left the classroom - I merely switched from ABCs to DIYs. I've learned a lot from transforming my own home from scratch, and now I'm here to pass on that knowledge to you. From interior projects to exterior revamps, I share it all in a way that's engaging, fun, and easy to follow.
So whether you're a first-time DIYer or a seasoned pro, there's always something new to learn Within the Grove.
From Classroom Teacher to DIY home renovator
Your DIY Guide & Friend
Meet Liz


shop now
Ready to add a dash of 'Within the Grove' to your home?
Ever wondered where to get that charming piece from my latest project or what my go-to tools are? Now you can shop my home and my all-time favorite things! From furniture that adds a special touch to must-have DIY tools, each item is handpicked and loved by me. You can trust these products to help you create a home that’s not just beautiful, but truly yours.
Explore My Personal Home and Favorite Finds
Handpicked Favorites Just for You


Sign up for the newsletter and receive the free paint guide, revealing all the signature colors used in Liz's home, taking the guesswork out of your next paint project.
