


Adding Curb Appeal and Functionality to Our Yard

This post is sponsored by Home Depot and contains affiliate links for your shopping convenience. As always, all thoughts and opinions are my own.

Every summer we add a little more to our curb appeal and landscaping when it comes to our yard. This year isn’t any different and I had a big project in mind that I wanted to complete in a single weekend. I decided on the space, narrowed down a few things I wanted to change and how to make it functional. I partnered with Home Depot to help get this project done and to show you what’s possible.

This part of our yard is the back entrance to our home which also happens to be on the side yard. With the exception of a few outdoor plants, this space had not been touched since moving in two years ago. But I certainly knew the potential this space could bring not only for functionality but for curb appeal as well. Here’s what I started with:

But thanks to Home Depot and the makers of OFF!® helping me to get the job done, this was the end result after working for a full weekend.

And just for fun, here’s a during photo. . .

. . . and then an after.

When creating this space for our side yard, I had a few projects in mind to help make our vision come to life. My goal was to have more privacy, a splash of color, greenery, and a way to water our plants easily on this side of our home all while making the entire space more functional.

With a project material list in hand, I headed to Home Depot to gather all of my supplies. The first thing that made it in my cart? My go to OFF!® Deep Woods Dry Insect Repellent. I’m constantly telling Ryan we can’t forget the pest step when shopping for our DIY outdoor projects. Since I’m allergic to mosquitoes and I simply don’t want to be miserable the entire time I’m working outside, it’s a must have item for us every single time.

With all the other materials in hand, we headed home to get started. You’ll find our entire list of materials we used at the end of this post. As with any other outdoor project, there are always two things I’m battling when working outdoors: the heat and the flying pests. One of these I do have control over which is combating gnats, mosquitoes and ticks as I work. This time wasn’t any different and I sprayed myself with OFF!® repellent before I even picked up a tool.

I’m good to go for a while since it provides long lasting protection. Basically, I get to have outdoor fun uninterrupted by the pesky insects. Added bonus? It dries quickly without feeling greasy or oily on my skin which means I don’t have dirt sticking to me as I work.

Let’s take a deeper dive into this side yard makeover and get a look into the changes I made!
Privacy
This part of our home is exposed to the neighbors behind us since we’re still trying to figure out the best way to install a fence in our backyard. To help with the privacy concern, I installed this modern privacy fence using fence panels and pressure treated 4 x 4 posts. Not only did this prove to be a small barrier between us and our neighbors, but the final result truly became a part of the overall curb appeal in a beautiful way.

To seal the fence panels even more to make sure they would last, I applied Waterproofing Stain and Sealer in Rose Beige by Behr. A very simple and modern project with big results! Added bonus? It also hid our back AC unit in the process.

Functionality
One of the first design elements I decided on about this space was adding a rain barrel next to the gutter. I’ve always wanted to try one and this particular one even houses plants on top. That pretty much sealed the deal for me. It was important to incorporate the rain barrel because we don’t have a water spicket close by on this end of the home. Besides making watering plants a little easier, it doesn’t hurt that it also adds character to the space.

We then needed easy access to the water barrel when using the attachable hose or a watering can. Which brings me to the new path I installed. So, like any other home project I tackle, I decided to step it up a notch.

After clearing the grass out of the space, I created my walkway using pavers and rocks. When creating this type of path, pay attention and make sure that all the pavers are aligned and level. From there, I filled in the open spaces with the rocks with no dig edging along the side to keep the rocks in place and separated from the grass.

Now, before I get too far, on both days when the sun was truly beating down, the gnats decided to make an appearance. You know what I’m talking about! When you’re working so hard and the gnats keep flying around and into your eyes. I took a time out to re-apply the OFF!® repellent and I could have kissed the can.

The gnats retreated and I was left to finish out the project which is why OFF!® repellent is usually within an arm’s reach whenever I’m working outdoors. My back up usually has a back up as well.

Greenery
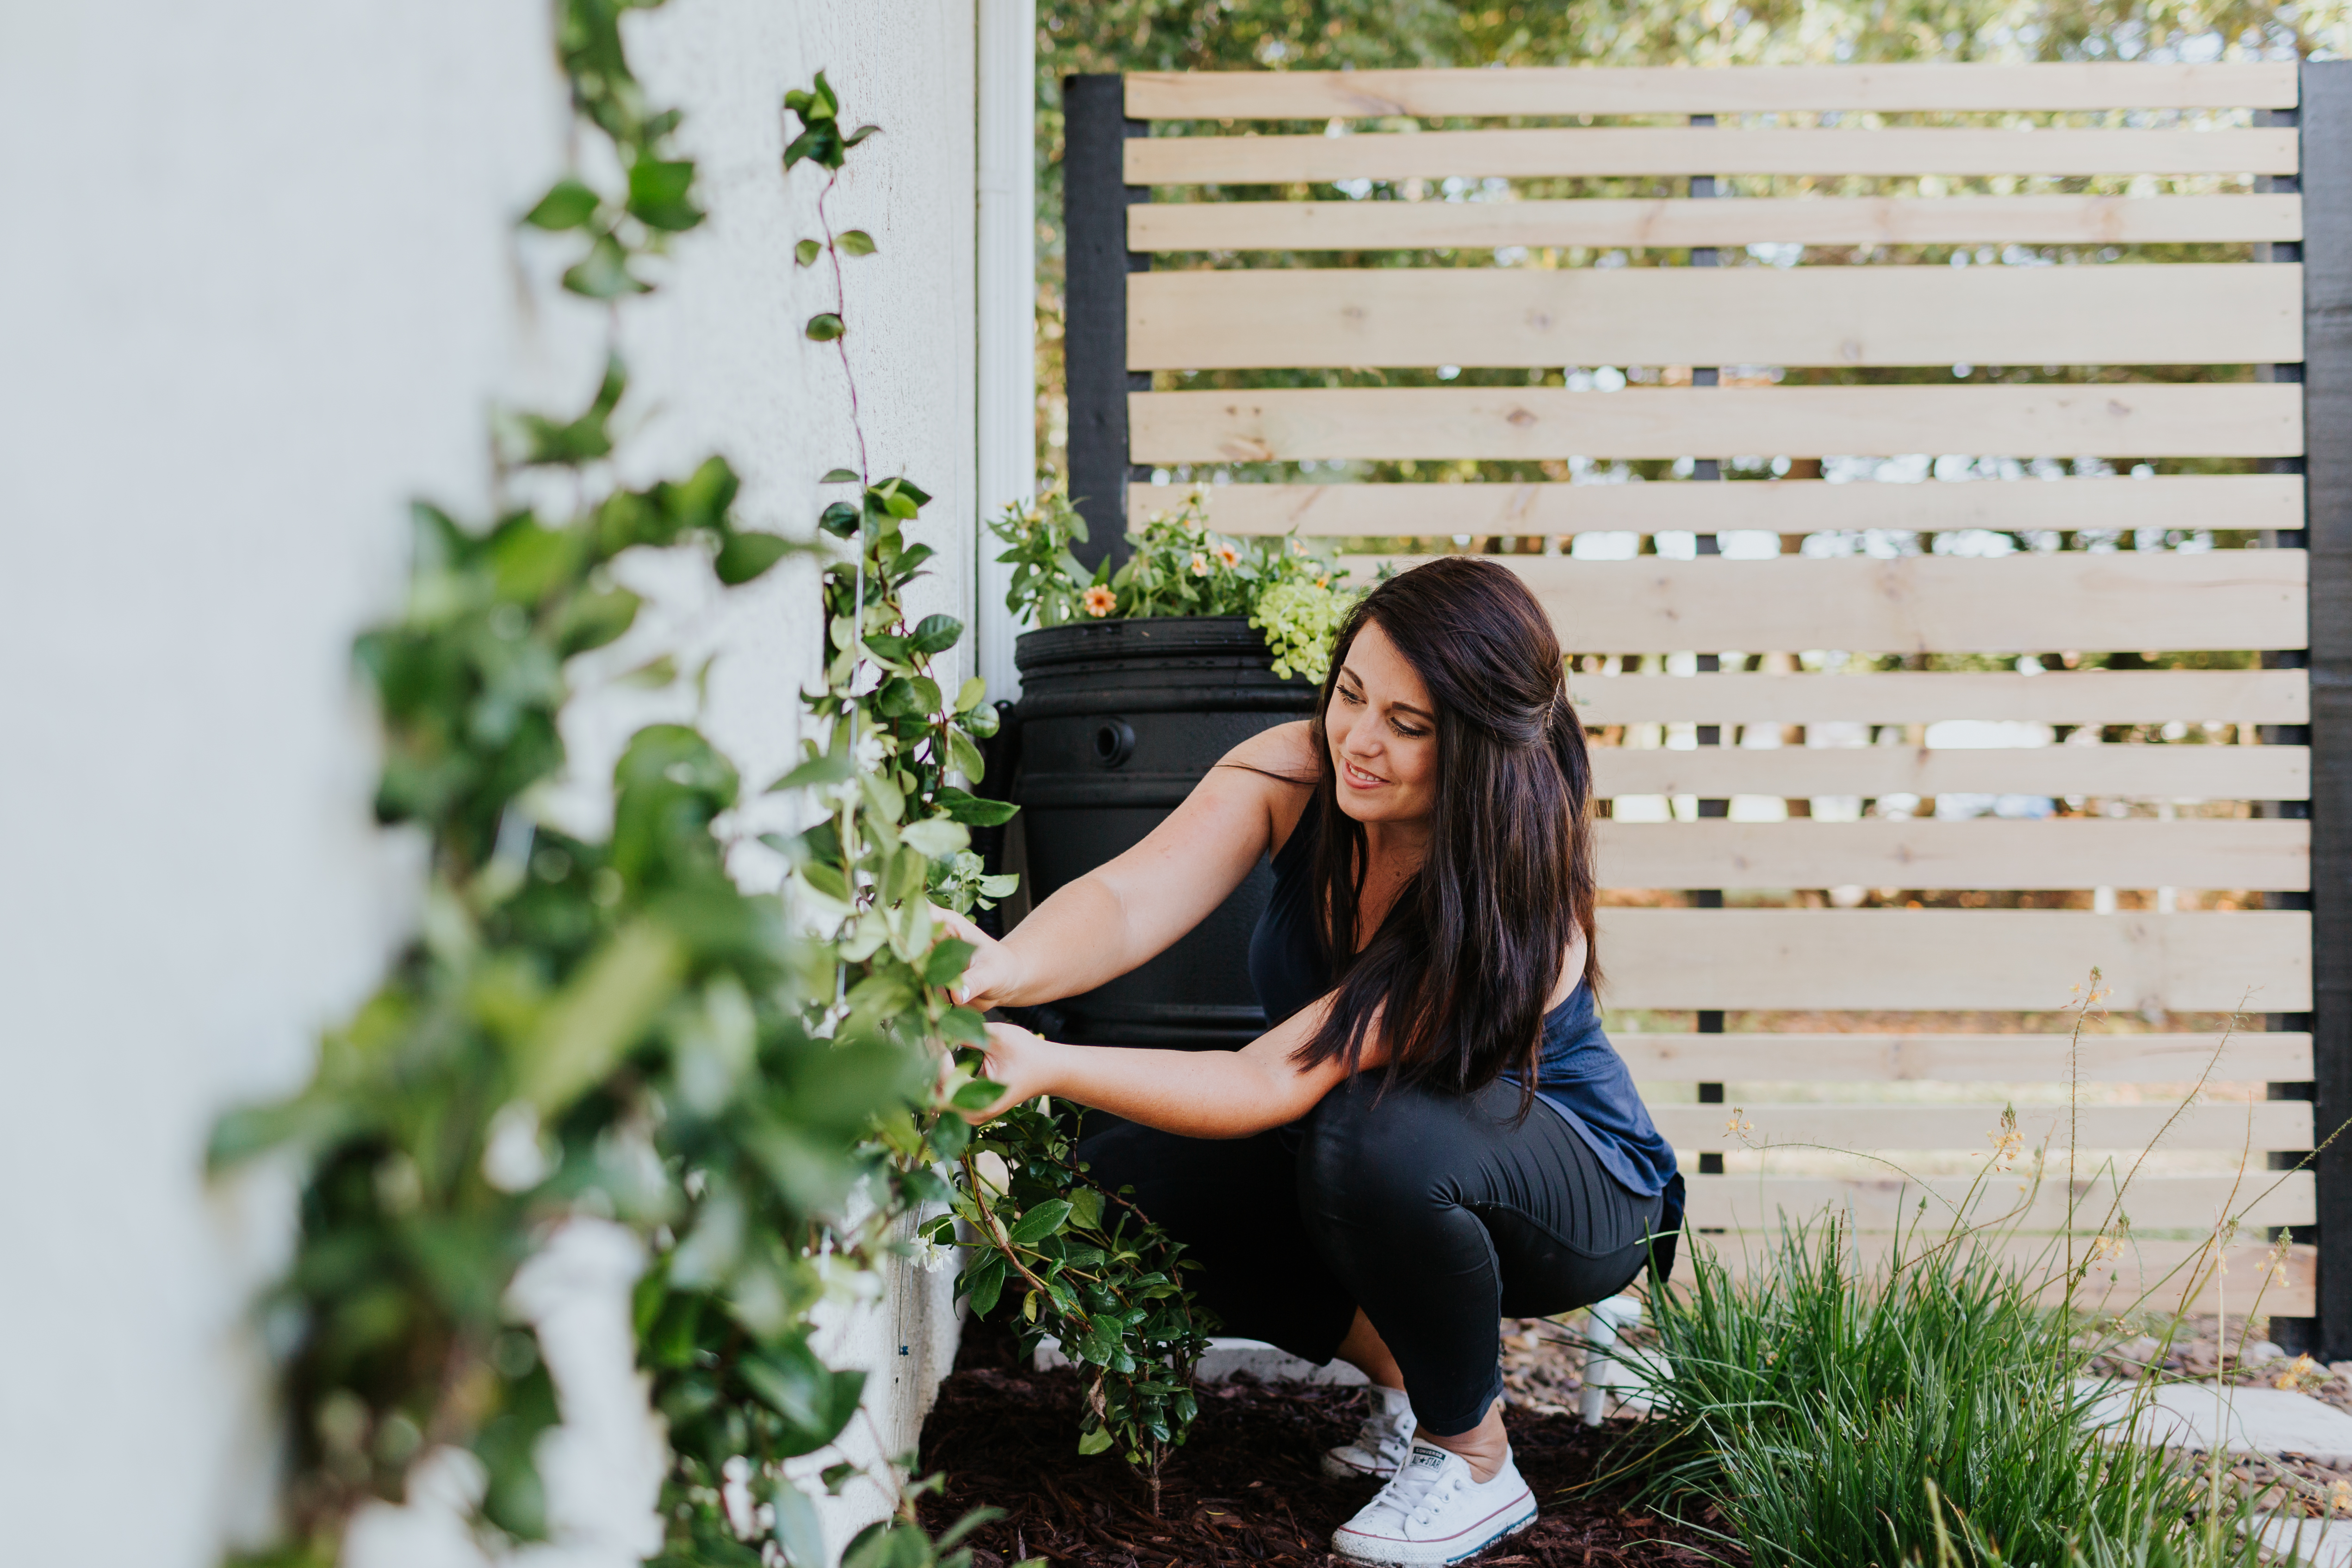
Any outdoor space I decide to makeover or spruce up, will always involve greenery and flowers. I’ve had a particular project on my bucket list for over two years now and I finally convinced Ryan to give it a try. I’m talking about creating a diamond shape trellis on the side of our home and allowing confederate jasmine to take over.

The beauty and simplicity of this project will speak for itself in the coming months as the jasmine starts to take over the galvanized wire. They grow fairly quickly and even stay green throughout the winter months. I truly can’t wait!

I had to move my yellow bulbines forward to allow for more room which in return extended the flower bed. Overall it allowed the space to be even more eye appealing with that one simple change. I framed the flower bed with mini pavers to help make it stand out even more.

Over in the corner I decided to create a container flower garden versus planting the plants directly into the ground. This way I won’t have to fight off weeds and it added a little decor to the space. Grabbing a small, medium and larger planter, I knew a single plant in each one would do the trick. All of the plants you see, as with everything else, came from Home Depot.

Finishing Touches to the Curb Appeal
To help bring the entire space together, I decided to give the door to our home a makeover as well. One of the easiest and budget friendly things you can do to your space is use paint to help transform it.

I excitedly painted the door Black Locust by Behr in the Marquee line in exterior for that bold pop of color I was craving. It truly completed the space and created a seamless look by tying in with the bold black of the planters, rain barrel and the posts of the privacy fence. I also had a good laugh when I realized I didn’t roll any insects onto the door as I was painting. I 100% believe this is because of the OFF!® repellent I sprayed myself with just before I painted the door.


One would think that this project took a few weekends to complete. But in reality, it only took two days which is amazing when looking at the before and after. There were two major things that made this possible. First, it was making a complete list of everything I needed for the project and heading to Home Depot. One trip and done! This eliminated multiple trips to grab what I needed which in return provided more time to work.

Second was making sure to grab and use Off!® Deep Woods Dry Insect Repellent. I wasn’t fighting off the flying pests throughout this project which also meant I wasn’t miserable as I hustled through the two days of outdoor work. Honestly, with the quick dry formula, you almost forget you even have it on.

I hope as you go to tackle outdoor projects yourself this summer you’ll now start adding OFF!® repellent to your outdoor tool belt and making that ultimate shopping list for Home Depot to save time. You can thank me later! As promised, I’ve linked all of the materials I used in this project plus a printable shopping list if you’d like to try any of them!

Printable Shopping List

Material List:
OFF!® Deep Woods Dry Insect Repellent
RainStation Rain Barrel
Mocha Brown Rubber Mulch
RumbleStone Mini Café Concrete Pavers
12 x 12 White Concrete Step Stones
16 x 16 White Concrete Step Stones
Creek Stones
Yellow Bulbines
Additional flowers and greenery
Confederate Jasmine
Galvanized Wire
Masonry/Concrete Screws
Behr Marquee Exterior Paint
Small, medium and large flower pots
Fence panels
4 x 4 x 8 pressure treated posts
Rustoleum Black Paint
Behr Exterior Stain
Paint Sprayer
Brad Nailer
No dig edging
Sod (if needed)
Shovel
Post Digger
Thank you to the Home Depot and the makers of OFF!® for sponsoring this project to show others how easily you can tackle outdoor projects.
All photos are by my sweet and talented friend, Krissi Nicole Photography.
Let’s keep in touch!
We have a brand new community over on Facebook, House & Home, where we’ll be chatting, sharing, and helping one another when it comes to home decor and projects. Come join us! Check it out here.
Like on Facebook || Follow on Instagram || Follow on Pinterest

[…] I had been dreaming of the day when I could finally create a diamond trellis on an exterior wall of our home. I absolutely adore the look of them and think they add so much character to a home. I finally found the perfect spot and made it part of this bigger project. […]
[…] HomeRight Super Finish Max for our home projects? You can check out our AC unit/trash can storage, side yard privacy fence, and our faux cabinet for the utility sink […]
Where do I begin? That fence, that rain barrel, and that door! Those are my favorite of this overall project.
You did a fabulous job, and I’m so incredibly happy for you! Love you bunches…????????