


As Halloween approaches, it’s time to add a touch of whimsy to your decor with a DIY broom parking sign. In this tutorial, I’ll walk you through the steps of creating a charming and slightly spooky sign that reads, “Broom Parking, Others Will Be Toad.” This eye-catching piece is perfect for welcoming trick-or-treaters and setting the stage for a magical night. So, grab your broomstick and let’s get started!

What You Need For this Broom Parking Sign DIY
- Wooden sign – Here are a few you can choose from: Wood Sign Option 1, Option 2, Option 3, Option 4
- Small wooden letters – Depending on the size of your wooden sign will determine the size of the wooden letters you’ll use. You’ll want larger wooden letters for “Broom Parking” and smaller ones for “others will be toad”.
- Black spray paint – I used a flat sheen.
- White Spray paint – I used a flat sheen here as well.
- Wood glue

How to Make a Witch Broom Parking Sign for Halloween
Step 1: Paint the wood sign.
Begin by selecting a wooden sign that suits the size and style you envision. Consider using reclaimed wood for a rustic look or opt for a smooth surface for a cleaner finish. Lay the sign on a protected surface and apply a base coat of black spray paint covering the entire sign. Ensure an even and thorough coverage and apply a second coat if needed. Don’t forget to get the sides and the back of the sign depending on how you’ll be displaying it.

Step 2: Paint the wooden letters.
While the sign is drying, it’s a great time to paint the wooden letters. You can go with any color you’d like, but for a classic look, I went with white. And it contrasts so well against the black.. Lay the letters on a surface protected from paint overspray, then spray an even coat of white paint over them. I used cardboard as my surface to paint on.

Another tip is to place a small piece of painter’s tape on the back of each letter so they don’t go flying when you spray them with the white spray paint. Allow the letters to dry completely before attaching to the DIY broom parking sign.

Step 3: Attach letters to the sign.
Once both the sign and letters are dry, it’s time to put the sign together. Lay out the letters on the sign to determine the positioning. You want to make sure they’re centered overall on the sign and level. Once you’re happy with where they are, use wood glue to attach each letter securely to the sign. A little bit goes a long way! If it helps, use a q-tip to dip it in the glue and then apply to the back of each letter. Take your time to ensure the letters are straight and evenly spaced.

Remove any excess glue seeping out from the sides of the letters or on top using a clean q-tip. Place a book(s) on top to apply some pressure to the letters so they can fully adhere with the wood glue. Allow the glue to dry according to the manufacturer’s instructions found on the back of the bottle.

Step 4: Hang the sign.
How to Display Your DIY Broom Parking Sign
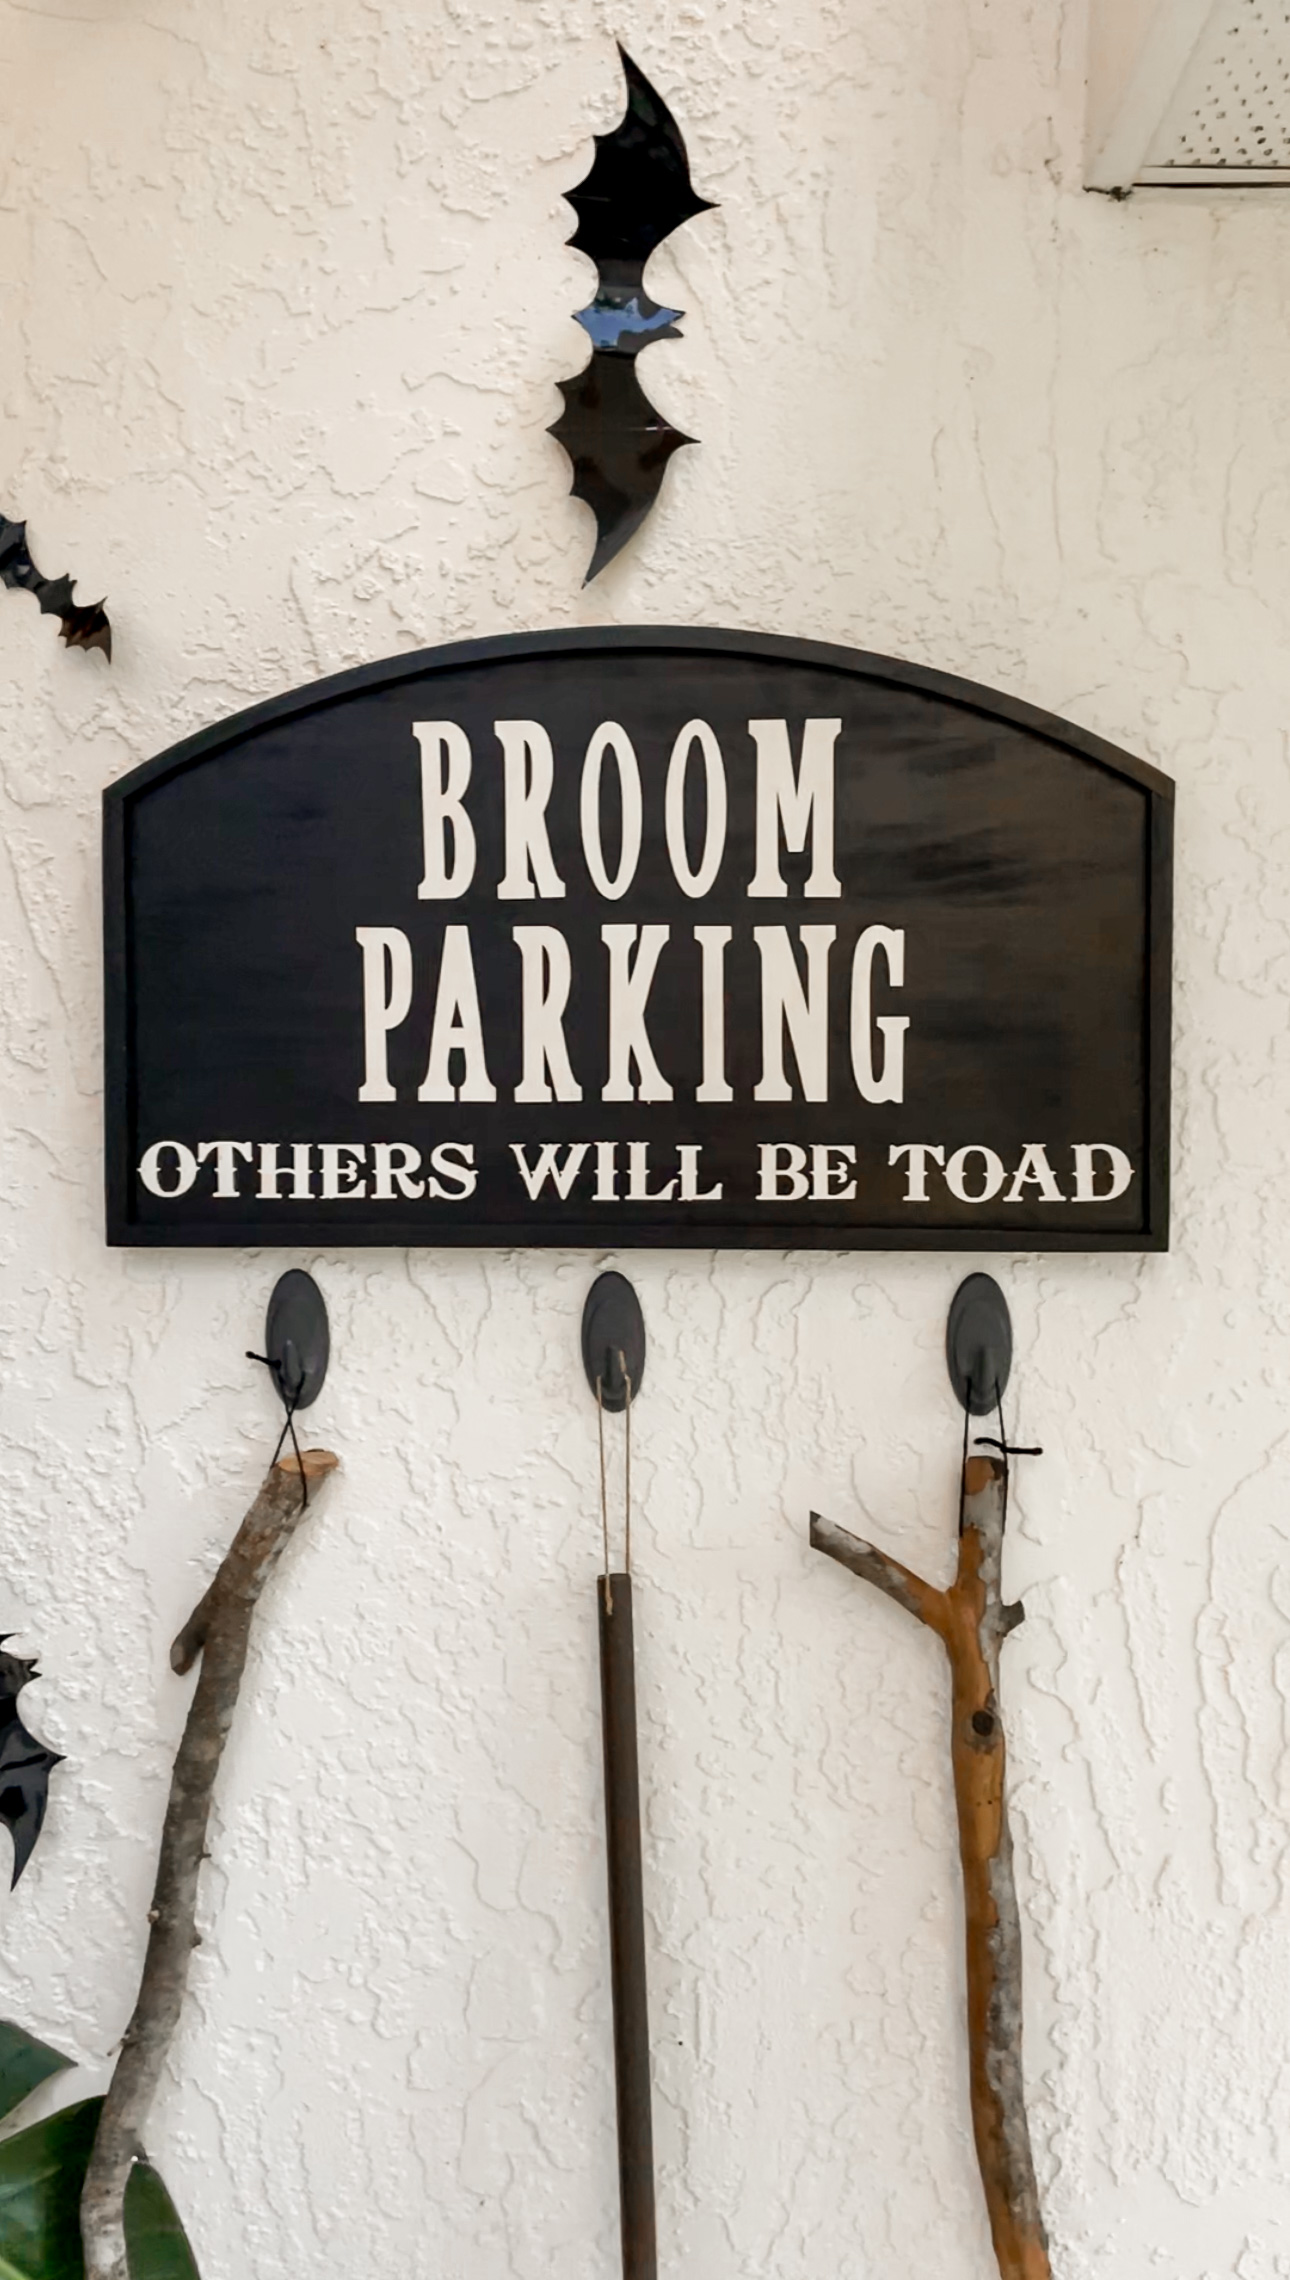
With the letters securely attached, it’s time to find the perfect spot to display your creation. For my DIY broom parking sign, I displayed it right by our front door using these Command picture hanging hooks. I also paired it with my DIY Witch Brooms hanging directly below it using command hooks as well. It helps to create the perfect whimsical, yet spooky entrance to our home.

Where to Display Broom Parking Decor
Depending on your preference, you can also hang the sign on a door, a fence, or even a tree branch. Use picture hangers, nails, or outdoor-friendly adhesive hooks for easy and secure installation. Indoors, you can display it on an entryway wall using command hooks as well with the brooms hanging below it. Or use it on a console with the brooms leaning against the side of the console. So many options with this DIY broom parking sign.


Broom Parking Sign Alternatives to Try
If you love the idea of a broom parking sign to add to your holiday decor, there are so many other variations you can try as well.
Different Colors
Experiment with a variety of colors to match your overall Halloween theme. Consider dark purples, eerie greens, or haunting oranges. Choose colors that complement your existing decorations.
Alternative Sayings
Swap out “Broom Parking” for something that goes more with your style and theme. Here are a few ideas:
- Witch Parking Only
- Parking for Wicked Witches Only
- Witch Please, Park Here
- Broom Parking – Brews and Potions Loading
For the subtitle, or pun, along the bottom you can try:
- Beware of Brooms
- Hocus Parkus
- Spells in Progress
Get playful with the wording to reflect your Halloween spirit.
Different Shapes for the Sign
Give your sign a distinctive silhouette by opting for a different shape. Consider a classic pumpkin shape for a more traditional Halloween feel. Alternatively, go for a witch hat shape to add a touch of magic to your decor. Unleash your imagination and choose a shape that resonates with the overall theme of your Halloween decor.

You’ve just conjured up a bewitching “Broom Parking, Others Will Be Toad” sign to enchant your Halloween decor. This DIY project not only adds a touch of humor to your home but also showcases your creativity.
Check out some of our other Halloween inspired projects:
DIY Witch Broom
Halloween Artwork for a Smart TV
Halloween Front Porch Decor
Halloween Party Decor
