


How to Install Board and Batten with Plywood (for Half the Price)

Want to install interior board and batten but worried about the costs of all the wood and other materials? Keep reading to learn how I created board and batten with plywood for half the price of a traditional installation.

When we were making over my son’s playroom several years ago, I knew I wanted to make it a fun place to play, learn, and grow. In other words, a place to escape for Oliver to have a little fun!
I mentioned to Ryan that I was interested in installing board and batten on the walls and he was up for the challenge! After doing a lot of research, we realized this project can get pricey very fast! Especially since we were covering a large amount of area.


So today’s post isn’t traditional a tutorial on how to install board and batten. Instead, I’m showing you how I cut costs on this playroom makeover by creating board and batten using plywood.
We saved a lot of money but that also means we did a lot of the work ourselves to create the board and batten. We’re always trying our best to stay within a budget which also means things may take a little longer. So keep that in mind!
What Is Board and Batten?
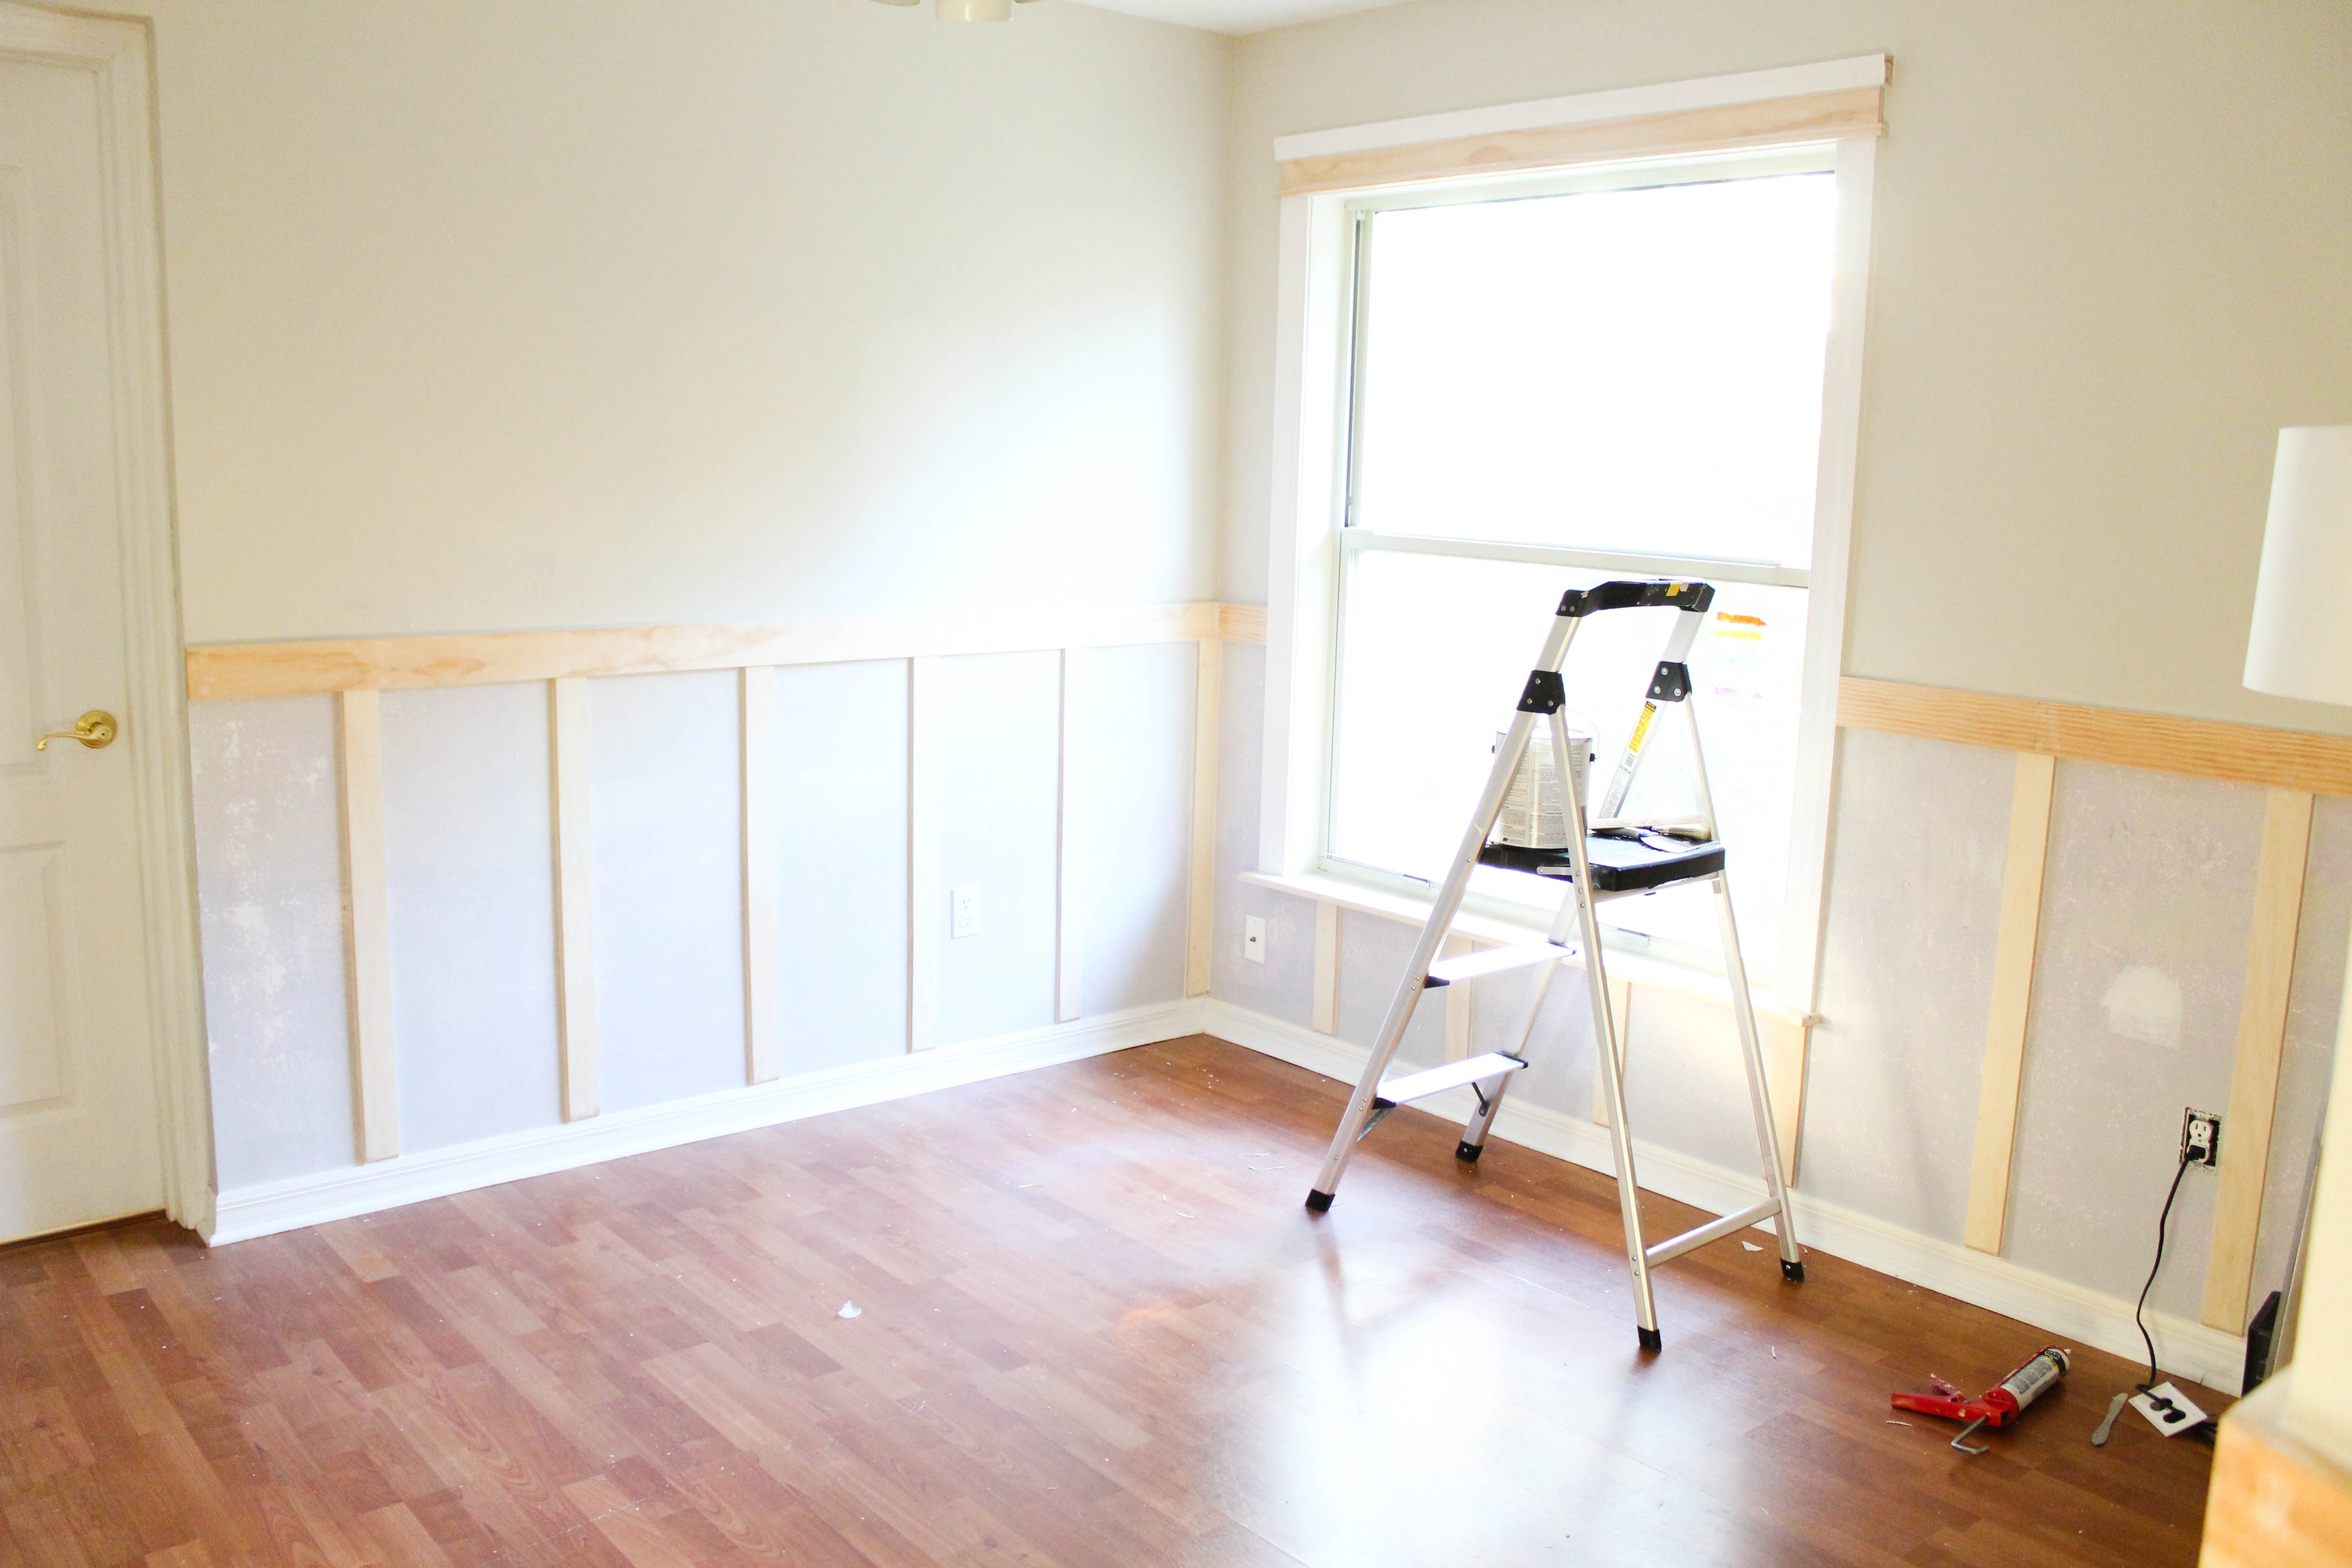
Board and batten is a siding and paneling style that involves narrow strips of wood placed over the joints of wider boards, creating a geometric and layered look.
Traditionally, a plywood backer board (board) is the foundation of this style, with the vertical wood trim (battens) installed on top of the plywood. When installing interior board and batten, however, many homeowners add the battens directly to the wall (which is exactly what we did to help save money!).
Why is board and batten so expensive?
The primary reason board and batten can be expensive – even to DIY – is simply because it takes a lot of wood to achieve the look. This is especially true if you’re paneling a whole room vs a single wall.
Best Wood for Board and Batten
When I first came up with the idea of doing board and batten in the playroom, I spent a lot of time researching the best wood for board and batten. But what I quickly realized was that unless you want to have a natural wood look for your board and batten wall instead of painting it, the type of wood really doesn’t matter that much.
Because we were installing the board and batten indoors and not in a space that gets a lot of moisture (like a bathroom), I knew we could get away with using a less expensive board option. That’s why I decided to try board and batten with plywood – and I was thrilled with how well it worked!
Creating Board and Batten with Plywood
The best part about using plywood for board and batten paneling is that you don’t need any special tutorial. The installation process is exactly the same as a traditional board and batten accent wall – you just use plywood instead of a more expensive board like pine, poplar or MDF.
Because every space is unique, you’ll need to measure the total amount of wall you want to cover with the board and batten, determine how far apart you want your battens spaced and then determine how much wood you’ll actually need before purchasing your plywood.
What Kind of Plywood is Used for Board and Batten?
You can use pretty much any type of plywood for interior board and batten paneling, such as birch, oak or maple.
The thickness of the plywood you choose mostly depends on your personal preference, and how thick you want your battens to be. You’ll most likely want to go with a ⅜ or ½-inch plywood. If you want a more pronounced board and batten look, you could also opt for a ⅝ plywood board.
How to Save Money with Plywood Board and Batten
While using plywood for board and batten was the biggest cost savings for this project, there were some other techniques we used to save money, too.
Sand Your Walls
We opted for sanding the walls versus purchasing hardboard panels. Why did we even sand to begin with? Our walls are textured and we wanted the smooth look once everything was completed and painted. If you’re walls aren’t textured, you don’t even have to sand! I think placing the boards on the wall is a personal preference if you want semi-smooth walls versus ultra smooth walls.

Use Plywood for the Batten
This was definitely the biggest area of cost savings. The batten pieces can add up in cost quickly depending on how many you need. We needed 28 strips of batten and wanted them at least 3 inches in width. We spent $25 on a nice piece of plywood and cut our batten pieces.
And wouldn’t you know it, one sheet of plywood gave us the 28 pieces we needed! Keep in mind, this was another long process. We had to measure, cut, and sand each individual wooden piece before we even attached them to the wall.

Keep Your Existing Baseboards
Usually when you install board and batten, you’ll also replace the baseboard so that everything matches. This can get very pricey and we were okay with the current baseboards. Plus, it saved time not having to replace them. Since the plywood pieces for the batten are thicker than the baseboards, we had to cut the bottom of the batten pieces at a 45-degree angle to create a smooth transition from the batten to the baseboard.

If you don’t have the miter saw needed to cut this type of angle (or don’t want the hassle of cutting so many angles in your battens), you can also install a small piece of shoe molding on top of your baseboards.
If you install the shoe molding upside down, the narrow part of the molding will blend into the top of your baseboards and the wider portion acts as a flat ledge on which to place your battens.

How Much Does a Board and Batten Wall Cost?
So, with those cost-saving tips plywood board and batten walls, here’s a breakdown of saving money versus saving time. These price comparisons are for the size of our playroom (you’ll have to adjust cost for your space). Also, the items we crossed out in the third comparison are items we already had which saved us more money. But so you’ll know the total investment, I’m breaking down the cost to save money by doing a lot of the work yourself, the cost to save time by having ready made materials, and my actual cost with the materials I already had versus what I had to purchase.

Board and Batten Price Comparison with Materials: How to Cut Cost
**These price comparisons are for materials only. This doesn’t include the tools needed to complete the board and batten project. Also, keep in mind this if for our size room. The price could go up or down depending on the size of the area you’re attaching the board and batten.
Saving Time: Buying Materials That Are Ready to Go (Traditional Board and Batten Installation)
Hardboard panels for a smooth finish on wall: $50
Liquid nails x 3 for the hardboard panels and batten pieces: $7.50
6—1 x 2 pieces for the ledge at the top: $17
38 – 1 x 3 Batten Pieces: $65
6 – 1 x 4 pieces for the top: $36
Nails for nail gun: $12
White Paint: $25
Caulk x 2: $12
New baseboards: $80+
Total: $303.50
Budget-Friendly Plywood Board and Batten: Doing A Lot of the Work Yourself
Sanding the walls: $0
Liquid nails x 1 for the batten pieces: $2.50
Plywood for batten pieces: $25
6 – 1 x 4 pieces for the top: $36
No ledge at the top: $0
Nails for nail gun (won’t need as many): $12
White Paint: $25
Caulk x 2: $12
Keep existing baseboards: $0
Total: $109.50
Our Actual Cost:
I crossed out the materials we already had, which helped cut costs. Check to see what you have before buying materials to help with the cost.
Sanding the walls: $0Liquid nails x 1 for the batten pieces: $2.50
No ledge at the top: $0
6 – 1 x 4 pieces for the top: $36
Plywood for batten pieces: $25Nails for nail gun (won’t need as many): $12White semi-gloss paint: $25
Caulk x 2: $12
Keep existing baseboards: $0
Our total cost: $73
By looking for materials we already had and being willing to put in extra time to get this project done, we saved 75% compared to buying ready-made materials with a quick turnaround!! So, you tell me. Would you want to spend over $300 or under $75 to complete the same project? The only difference is investing a little more time and possibly borrowing tools from your neighbor.

Before-and-After: Board and Batten with Plywood
This took us almost three weeks to complete with having a busy 16 month old and having only an hour or two in the evenings during the week and a few hours a day during the weekends. This can easily be completed within a weekend if you’re able to give more uninterrupted time. There’s also one thing to keep in mind! If you’re only doing the board and batten on one wall, purchase the 1 x 3 pieces versus the plywood.


We’ve done a lot more work on this playroom in the years since this project. It has truly become the space I dreamed of when we first started! We’ve added:
- A DIY floating desk for kids
- Playroom gallery wall
- Playroom organization
- A Roman shade
- Fresh playroom paint colors
I can’t wait to share another update of this space. Let me know if this has motivated you to try board and batten in your home!
Let’s keep in touch!
Like on Facebook || Follow on Instagram || Follow on Pinterest

[…] for more playroom inspiration? See how we organized toys, installed board and batten, and installed a roman shade in […]
[…] you’re here, you can also check out our past playroom projects: Board and Batten TutorialOrganizing Playroom ToysAdding a Roman […]
Never considered using plywood, such a good idea!
How did you figure out spacing? Everywhere I’ve looked they’re only doing one wall, not a whole room.
I’ve been contemplating board and batten, but was not liking the idea of replacing our baseboards. I love seeing how great this looks with existing ones! It turned out great and I can’t wait to see the final result as it unfolds!! Thanks for the inspiration!
We were nervous at first as well with keeping the existing baseboards. Now that it has been a few weeks since we installed the board and batten, we don’t even notice! Thank you for hanging out here on Within the Grove!
I love this so much. I’ve been wanting to do this in my home since we moved in 10 years ago! I’d like to do mine even higher. I’ve heard it referred to as plate hanger height.
Thank you for sharing! We want to install board and batten in our foyer and want to do it higher as well. I’ll refer back to your comment when it’s time!