


Hey friends! It’s time to share another DIY tutorial from Ryan’s office reveal. This week we’re sharing how to build a DIY plywood desk with waterfall edge.
We love any opportunity for DIY wood projects. Our son’s’ playroom features a DIY floating desk made from plywood and recently designed and built a DIY outdoor play structure in our backyard. So it’s only natural that our office space would also include DIY furniture.
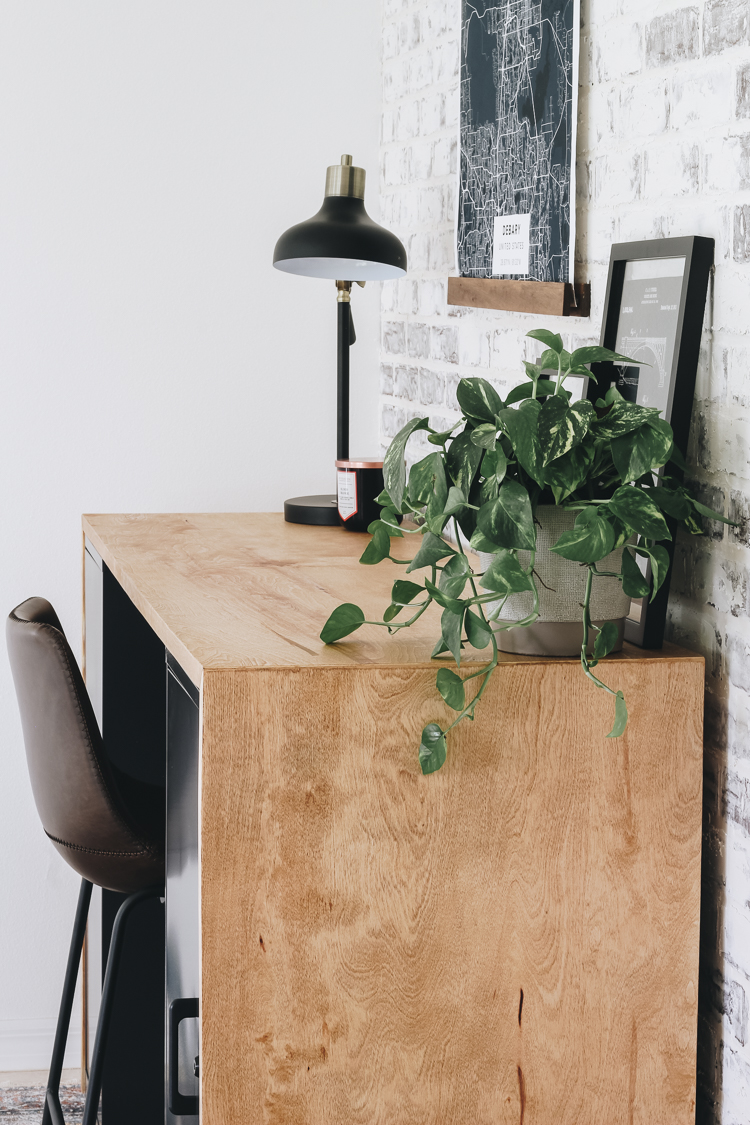
When we were planning the office space, we knew we wanted a desk that made a huge impact yet was simple in design. And let’s not forget about staying within budget. Our solution was building this DIY waterfall desk out of plywood which cost a total of $75. Yep, you read that right!
Buying a desk like this can easily cost you hundreds of dollars. But you can build your own for less than $100 worth of materials without sacrificing any of the style. This piece created such a huge impact in this space!
Ready to start your own plywood desk DIY? Keep reading for a step-by-step tutorial and answers to all your questions.

What is the best wood for DIY desk?
There are many different options when it comes to materials for a waterfall desk. But if you’re looking for a budget-friendly and easy wood to work with, then plywood is the way to go. Plywood is lightweight, inexpensive and easy to cut. And by the time you’re done adding trim and stain, it will be unrecognizable from the sheet of plywood you started with.
DIY Plywood Desk Materials

1 – 4 x 8 standard sheet of plywood (ours was 3/4″ thick)
1 – 4 x 8 sheet of birch plywood (ours was 1/4″ thick)
Wood glue – Enough to cover the 4 x 8 pieces of plywood
Wood screws – long enough to go through the plywood and successfully connect the two together.
Birch laminate edging
Paint roller
Clamps
90 degree clamp
Extra wood – to create small strips
aria-label=”Square triangle ruler (opens in a new tab)”>Square triangle ruler
2 – corner brackets
Stain color of choice or Danish Oil
Satin polycrylic
Tools
Router
Circular saw
Screw driver
Orbital Sander + Sandpaper
Iron
Scissors
How to Build a DIY Birch Plywood Desk
Before you start the building process, you’ll want to determine the size you want your plywood desk. We knew we wanted to use cabinets underneath the desk for storage, so we based our measurements on the height and width of the cabinets. If you’re using cabinets underneath yours as well, you’ll want to leave at least half an inch on the side and above the cabinets, so be sure to take that into account when making your measurements.
Once you’ve got your measurements ready, it’s time to get started!

Step One: Glue the plywood boards together
We’re using two different types of plywood to make this DIY plywood desk. This gives the wood a better thickness and using birch plywood as the top layers creates a really lovely woodgrain finish.
The first step is to put the two plywood boards together to create one, thicker board. First, you’ll glue the thin sheet of birch plywood on top of a standard sheet of plywood using wood glue. Apply the wood glue liberally and roll it out with a paint roller to ensure that it covers the entire surface area.

Attach clamps around the edges of the glued plywood pieces. Optional: Use 2×4 as a method to increase pressure evenly as seen in the picture.


Step Two: Cut the plywood board
Once the glue is fully dry, you’ll use a hand saw to cut the two side pieces and the top piece for your desk. Make sure that your two side pieces are the same size and they line up successfully with the top.
Also, don’t forget about think about the direction of the wood grain when you’re cutting your pieces. This is especially important since we’re building a plywood desk with waterfall edge. For example, for the waterfall piece, I wanted the grain going down.


Step Three: Create the corners
To give your DIY plywood desk a high-end look and ensure proper construction, you’ll need to angle the ends of the boards where the sides meet with the top.
Cut both ends of the top and the top end of each side at a 45-degree angle. Make sure you’re cutting each angle in the right direction so the ends come together to create a 90 degree angle.

Step Four: Connect the sides to the top
To connect the top to the side pieces, you’ll want to create a wood joint. Using a router, route a groove along the length of each joint where you cut the 45-degree angle.

You’ll then want to cut a narrow piece of wood that is the same length as the joints. You also want it to be the same width as the router bit and when inserted in the groove, it sticks out just enough to match the depth of the groove in the top piece.
To successfully piece the top and side together, apply wood glue in the grooves. You’ll then insert the wood strip and piece the top and side piece together like a puzzle.


Using a triangle ruler square, make sure your top and side create a 90-degree angle. Then, using a 90-degree clamp, clamp the ends together until the wood dries. Repeat this process for the other side.

Step Five: Give your desk extra support
For extra support and a desk base that won’t shift, apply a metal brace on the underside where the side meets the top. Do this for both sides! You can also reinforce it even more by installing a piece of wood in each back corner that’s a 90-degree triangle.


Step Six: Finish the plywood edges
You’ll notice that since we used plywood for this project, you can see the layers of the plywood on the front edges. To give the desk a clean look and make it look like it truly is a large piece of birch wood, you’ll apply birch laminate edging to the front of the desk.

You’ll do this by cutting a strip the same length of the edge your’re applying it to. Line it up on the edge and use an iron to activate the glue on the strip to adhere it into place. If you have any overhang from the birch laminate edging, simply sand it down.

Step Seven: Stain and seal the plywood desk
We’re almost done! Before you stain your DIY plywood desk, you’ll want to sand the entire desk with a 160-grit sandpaper followed by a 220-grit sandpaper for a smooth finish. I recommend doing this with an orbital sander.

Your last step will be staining and sealing your desk. This is where you can truly customize your plywood desk. Instead of stain, we went with Danish Oil in Medium Walnut applied in three layers. You can also choose to seal your desk. We usually seal our furniture pieces with polycrylic in satin.

And there you have it! Those are the steps to build your very own DIY plywood desk with waterfall edge. Now, it’s up to you to style it and decide what you’re going to place in your cabinets. You can see the full reveal of this space here. Happy building, my friends!

Still have some questions about this project? Keep reading for our answers to the most common questions about building a plywood desk.
DIY Plywood Desk FAQs
Can I really build a desk with plywood?
Absolutely! While plywood may not seem like the strongest option for furniture, it’s actually quite durable. And, because we’re using standard plywood together with birch plywood, we’re boosting its strength. A plywood desk is a great option for a handmade wooden desk that’s still lightweight and easy to move.
Is 3/4 plywood thick enough for a desk?
You could make a desk out of a single sheet of ¾ plywood but it may be a bit thin, especially if you plan to keep a computer on top of the desk. We used one sheet of ¾ plywood and one sheet of ¼ birch plywood to create a thicker sheet of wood. This thicker slab results in a really lovely and heavy-duty desk.
What is the best way to finish plywood for a desk?
There are many different ways you can finish plywood for a desk. If you want a truly natural finish, then you could simply sand the wood and seal it with polycrylic. Staining the wood with a water-based stain or oil is a great option if you want it to look more polished. We used Danish oil in walnut and applied three layers. Make sure to also use plywood edging to cover up the raw edge that plywood has.
How do you seal plywood for a desk?
While you don’t necessarily have to seal your DIY plywood desk for indoor use, it definitely helps to keep your furniture piece looking nice long-term. We always seal our furniture pieces with polyacrylic in a satin finish.

Ready to build your own birch plywood desk with waterfall edge?
Follow along with this tutorial and be sure to tag me in a photo of your finished product! Comment below if you have any questions or comments you want to share.
You can check out the full reveal of this space here and the tutorial for the poster frame here.
Let’s keep in touch!
We have a brand new community over on Facebook, House & Home, where we’ll be chatting, sharing, and helping one another when it comes to home decor and projects. Come join us! Check it out here.
Like on Facebook || Follow on Instagram || Follow on Pinterest

[…] DIY Plywood Desk by Within the Grove: […]
[…] 16. DIY Plywood Waterfall Desk […]
[…] Credit: withinthegrove.com […]
[…] Anerkennung: withinthegrove.com […]
[…] a non-creepy way), or do ALL THE THINGS in your own home! I really loved their latest post on the DIY Plywood Desk (I was following along on Instagram) and I would LOVE to make […]
I love the desk!
Amazing. If I’d pay you can you make me a couple desks? Lol